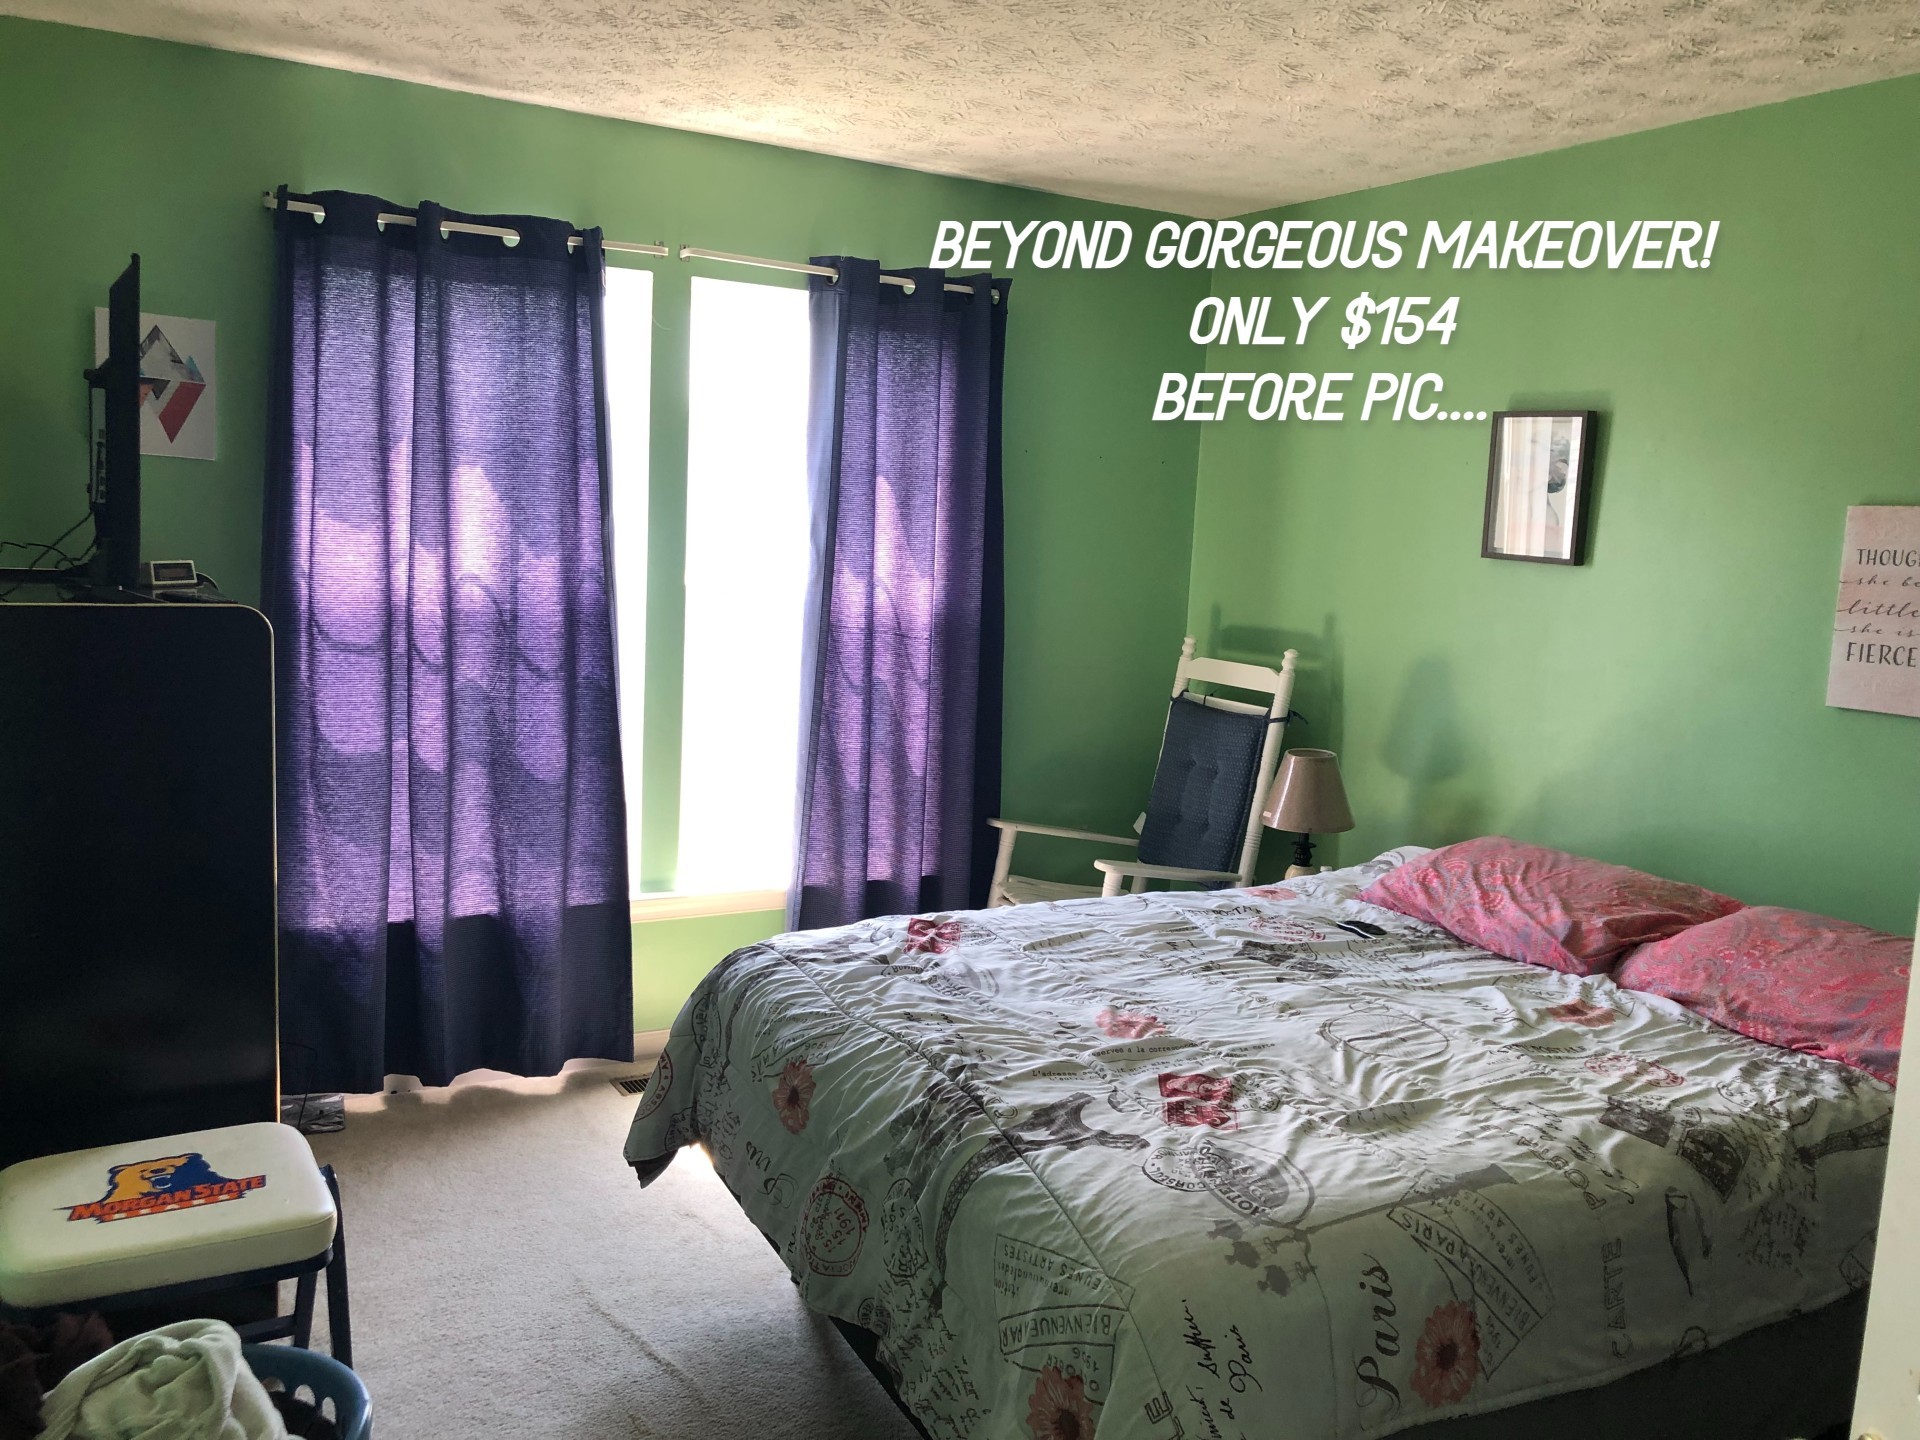
We’re on a mission to makeover our entire house. If you’re able to do the work yourself, you can keep the price down and it’s such a joy to see something turn out fabulous. This was our first makeover of a bedroom. It only cost $154.00 to make the room into a gorgeous room. Picture of transformed room can be found in the attached video that’s at the bottom of the post. It is gorgeous!!! Some things that were done {Read More}
Deck Makeover Reveal
August 22, 2021 by Leave a Comment
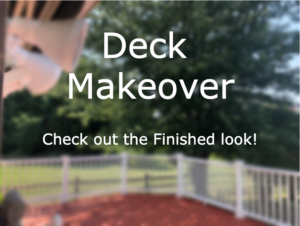
Who doesn’t love a room or deck makeover! Throw in thrifty makeover and you can officially declare yourself a winner. My daughters and I have been doing makeovers at home since the summer began. It’s a great way to spend quality time with your kids. This is our second makeover and we decided to do the DECK. Our first one was a bedroom. Our makeovers involve thrifting and finding items that we can use to decorate the room without spending {Read More}
Pouring Paint How-To
August 8, 2020 by 1 Comment
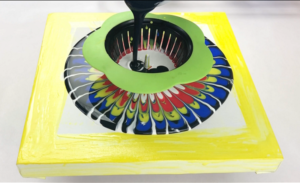
Pouring paint is so mesmerizing! I had to try it! If you’re ever in need of being in a serene moment or just want to daydream, this is a must-try.
Face Mask with Nose Bridge
July 8, 2020 by Leave a Comment
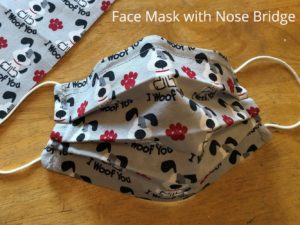
Thinking of making your own face mask…try this little tutorial! Check out the video or follow the steps below. This is so cute! Thinking of making a couple more for everyone in the family! I have included written directions below. Items Needed 14in X 9in Cotton Material Elastic or Cotton strings for ears Wire (suggestions listed in directions.) Steps for Making Mask Step 1: Use a 14in X 9in cotton material. Cotton material seems to work best. This particular {Read More}
Molasses & Honey Glazed Salmon
April 20, 2019 by 1 Comment
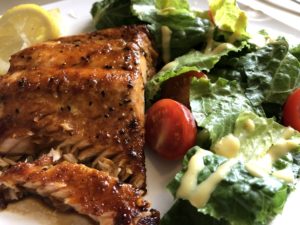
This molasses and honey-glazed salmon is so delicious! Easy to prepare. Just follow the steps and enjoy! Ingredients: 1.5 pounds of Atlantic Salmon lemon pepper 3-4 tbs of molasses 2 tsp of honey 1/2 tsp of water pepper to taste salt (optional) 1/4 tsp of crushed red pepper flakes (optional) Remove the scales on the bottom side of the salmon. Soak salmon in olive oil and lemon juice for 15 minutes. If time is limited, forgo 15 minutes of {Read More}
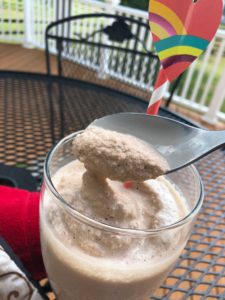
Making Pizza Dough into Cinnamon Bread
April 20, 2019 by Leave a Comment
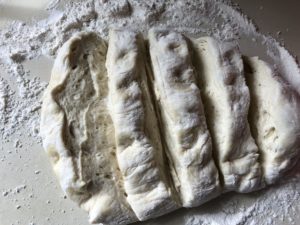
This is simply delicious! Love this. Plus, it’s not difficult to make. Following the simple directions below. Ingredients: Makes two loaves. 1 pkg Pizza Dough (bought from Wegmans) Cinnamon Nutmeg Directions: Remove dough from package. Let dough thaw if frozen. Cut in half. Mix sugar, nutmeg and cinnamon in a bowl. Pour onto a sheet of wax paper. Set aside. Then cut 4-5 slits into dough. Melt butter. Roll dough in butter. Remove. Make sure to get butter in between {Read More}
How to Keep Ants Out of Pet’s Bowl
March 22, 2018 by 10 Comments
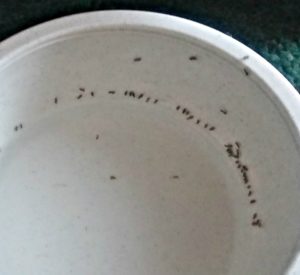
The ants are back! This time they are terrorizing my pet’s water bowl. Normally, they never get into the water bowl. Different year. Different ants. (I guess…) This is the first year that I’ve had to worry about ants taking over the water bowl for the dog. For some reason, the ants don’t bother with the food bowl. (Can’t figure that one out, yet.) So, I found this little simple trick and decided to test it out. And, yep….it works! {Read More}
Pan Fried Sweet Potatoes
February 25, 2018 by 1 Comment
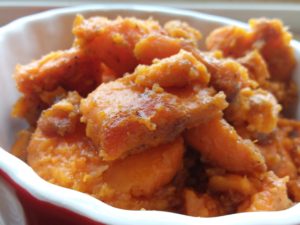
This is one of the most delicious dishes I’ve ever made. It’s cooked the way the people cooked “back in the day”. It’s probably one of those dishes that your grandmother or great grandmother would fix. Is it a healthy dish? Of course, not! Don’t let that stop you from trying it. Just don’t fix it everyday. It’s also a dish that doesn’t really have specific measurements. In other words, you should “eye” the amounts that you would like to {Read More}