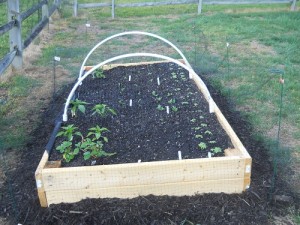
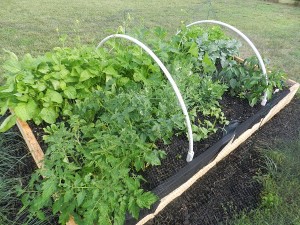
(I decided to make a garden bed so that I can save on vegetables. There are more pics at end of post.)
Making this garden bed will help to cut down on some of our grocery expenses. The hubby and I made this raised garden bed and I must say that it turned out fabulous. It is quite simple to make. I wanted to take pictures of each step while we we making this bed, however, my hubby was a little under stress because the screwdriver didn’t work too well. So, I thought it best not to keep sticking the camera at him. This should really keep my grocery bill down.
The directions are listed below. I found the direction by using my helper, the internet. I will say that when I make the next bed (of course, this will be next spring), I will go without the white piping. I ended up buying plant spikes to put around the bed to hold up the bird netting.
The directions are quite simple.
Supplies:
(6) – 2 x 6 x 10 …..I wanted to make mines a little longer
(1) 4 x 4 ….6 foot long
(32) 3in wood screws (may be hard to locate)
(6) plant stakes
(1) pack of bird netting
(10-12) bags of garden soil …..(1 and 1.5 cubic yards) You may need more soil. I used about 12 bags.
(2) bags of manure to mix with soil
(3) bags of mulch
(1) pack of hardware cloth
(1) pack of labeling stakes
Lots of vegetable packs!
Pre-Directions:
Make sure and have 2 of the 2 x 6 x 10 cut into halves in the store. We had ours done at Home Depot. Lowes wouldn’t cut thick wood for us. Make sure to cut the 4 x 4 piece into (4) 12 inch long pieces. I have piping on my bed, but I wouldn’t suggest using it. It didn’t turn out well, in regards, to its use. It looks good, though. I decided to purchase the long green plant stakes to use instead.
Directions:
1. Set one of the 2 x 6 x 10 upright. Connect it to the side of one of the 12 inch pieces using the 32 inch wooden nail.
2. Then connect the other end of that 2 x 6 x 10 to another piece of a 12 inch piece. Then add one of the 2 x 6 x 12 that was cut in half to each end. Then connect the other 2 x 6 x 12 to the opposite side. You should have a closed end rectangle now.
3. Just repeat same instruction for adding the next layer to make it higher. It’s like having a rectangle nailed on top of another rectangle. The bed is upside down, so you will need to flip it over to show the longer 12 inch pieces extending out. They will be inserted into the ground later.
4. Dig holes deep enough that the remaining 12 inch post extending out will be inserted into the ground to make the bed lay flat. I cleared grass from the area that I was placing bed first. Then I laid the hardware cloth on ground to keep grass from growing up and to keep out creatures that come up out of the ground.
5. Insert the 12 inch post portion on bed into ground. Adjust depth of hole if needed. Fill the holes with dirt around the post.
7. Fill with garden soil. I mixed the manure into the soil before planting.
8. After planting (label vegetables planted) and watering, I put the plant stakes and netting around the garden bed to keep out birds and rabbits. The piping didn’t hold my netting up far enough for me. Don’t forget to put the mulch around the garden bed edges. The green plant stakes worked fabulous, but you can use any type of stakes that will hold up the netting.
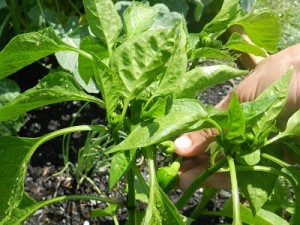
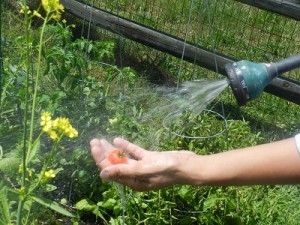
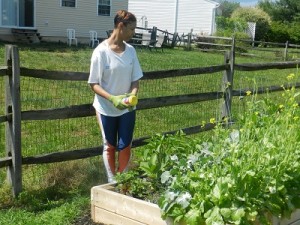
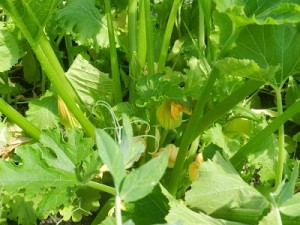
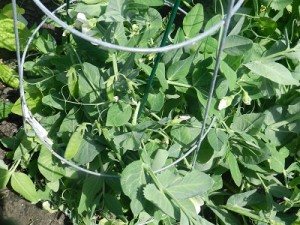
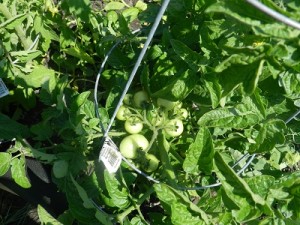
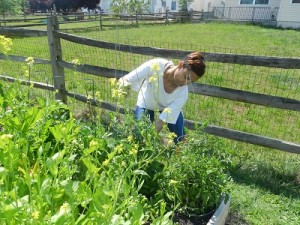
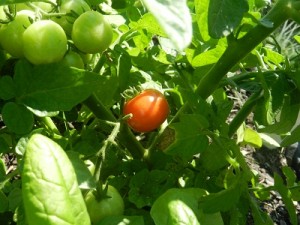
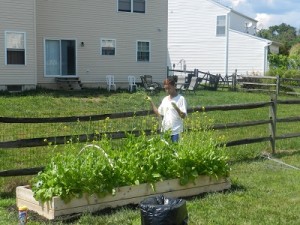
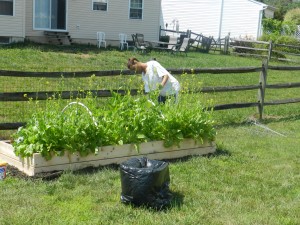
Check out pictures of how my garden is looking now after 8 days. I planted mustard greens, onions, spinach, okra, tomatoes, bell peppers, strawberries, cantaloupe, and broccoli. (I got carried away with planting since this was my first garden). The mustard greens were already sprouting in about 4 days. Now everything is growing up! I will post more pics as the garden flourishes!
Don’t forget to check back often to see how the garden is growing!




Hello Sharon,
Raised beds are great for growing things in. I have one myself which i planted peas in and then put a mesh fence around to keep the rabbits out. Great to see images of the raised bed full of growing plants.
Thanks,
Richard.
Hi Sharon, what do you think about fabric garden beds? Do you think it might be useful in garden?
Matt recently posted…Best Raised Garden Beds – Review and Buyer’s Guide
I LOVE your entire site! The gardening hit home. My husband and I have recently been stationed to Louisiana and we have a bit more space to garden! I love being able to just pick what I need and want to eat for the day and you know you are giving your family some good stuff. Thank you for sharing and I look forward to connecting in the future. Happy Sunday!
Christy Hoover recently posted…When I think about Ordinary..
Thank you Christy! We love our garden. This year, we only planted watermelons in the garden since we were doing quite a bit of traveling during the summer. The watermelons actually grew! It is wonderful to walk outside and pick your own handgrown vegetables. My daughter was super excited about eating something that she planted from a seed. It is amazing. Making a garden was definitely a smart decision. You must let me know if you get a garden up and going for next summer.
I have thought about using wooden pallets, filling with dirt and using them like a square foot garden.
Hi Thomas! That sounds like a good idea for making a raised garden bed. You should definitely try it.
Great job!! Perfect! Well sad to say that I tried doing a veggie garden and it did not go well, so I turned it into a flower bed and it has been thriving for the las t 3 yrs….it seemed as though I just could not keep the weeds out of the veggie garden but they do not grow as much in the flowers.
Living F.A.B.ulously on Purpose
Margaret recently posted…Menopause is Not a Disease….Do Not Sweat It!
Hi Margaret! It definitely takes a lot to keep a garden going. This year we’re only growing watermelons since we will be on vacation quite a bit. Hopefully, the hubby waters them while the girls and I are on vacation. If not, we may come back to a dry and “who knows what” kind of garden. But, flowers seem like a nice thing to substitute for if the veggie don’t grow.
I hope to build a raised bed to grow veggies next year. I will use your post as a guide. Thank you. I have enjoyed reading your posts this morning. I am now going to try the Spray Clorox on my shower trick you wrote about!
Hi Dawn! I hope you get a chance to build one. We love ours. This year, I’m allowing my young daughter to do all the growing, tending, etc. to the garden. And definitely try the clorox, it works great.
This looks like the one I have.