
I bought a new comforter set for my bedroom. It has been 12 years since I’ve bought a new comforter set. I’m sure the only reason I did was because my husband kept complaining that I needed to change the set that has been on the bed forever. Now, this isn’t my first attempt at trying to buy one. It’s just that when I bought one and brought it home, it never looked good when I put it on the bed.
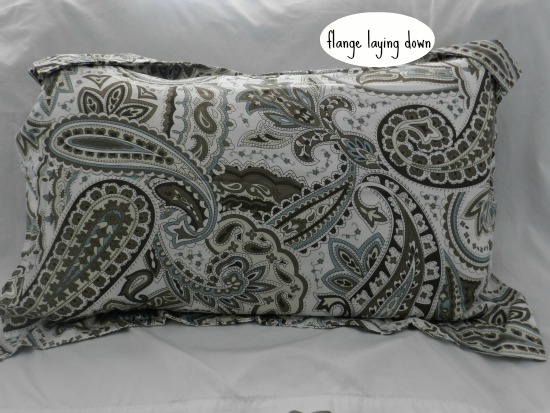
So, I decided to stick with this one since the bluish looking color matches my wall. (It’s kind of a blue looking color.) I put it on the bed and of course the shams wouldn’t stand up. They rarely do. I hate when the sham won’t stand up on its own. I scoured the internet for a way to remedy this problem. And you know, there was only two things that I found to solve this problem. One site offered advice on how to fluff the pillow, turn it upside down, etc., etc., and you will be able to make them stand up. Another site, Do It Yourself Didters, offered advice on using a buckram material (similar to interfacing) to make them stand up. So, I’m definitely testing this one out. Now, if you buy shams and want the flanges (the end part of the pillow sham) to stand up alone, then this is a great help. I would most surely vote this one as a winner! I’m making the pics a little larger on this demonstration.

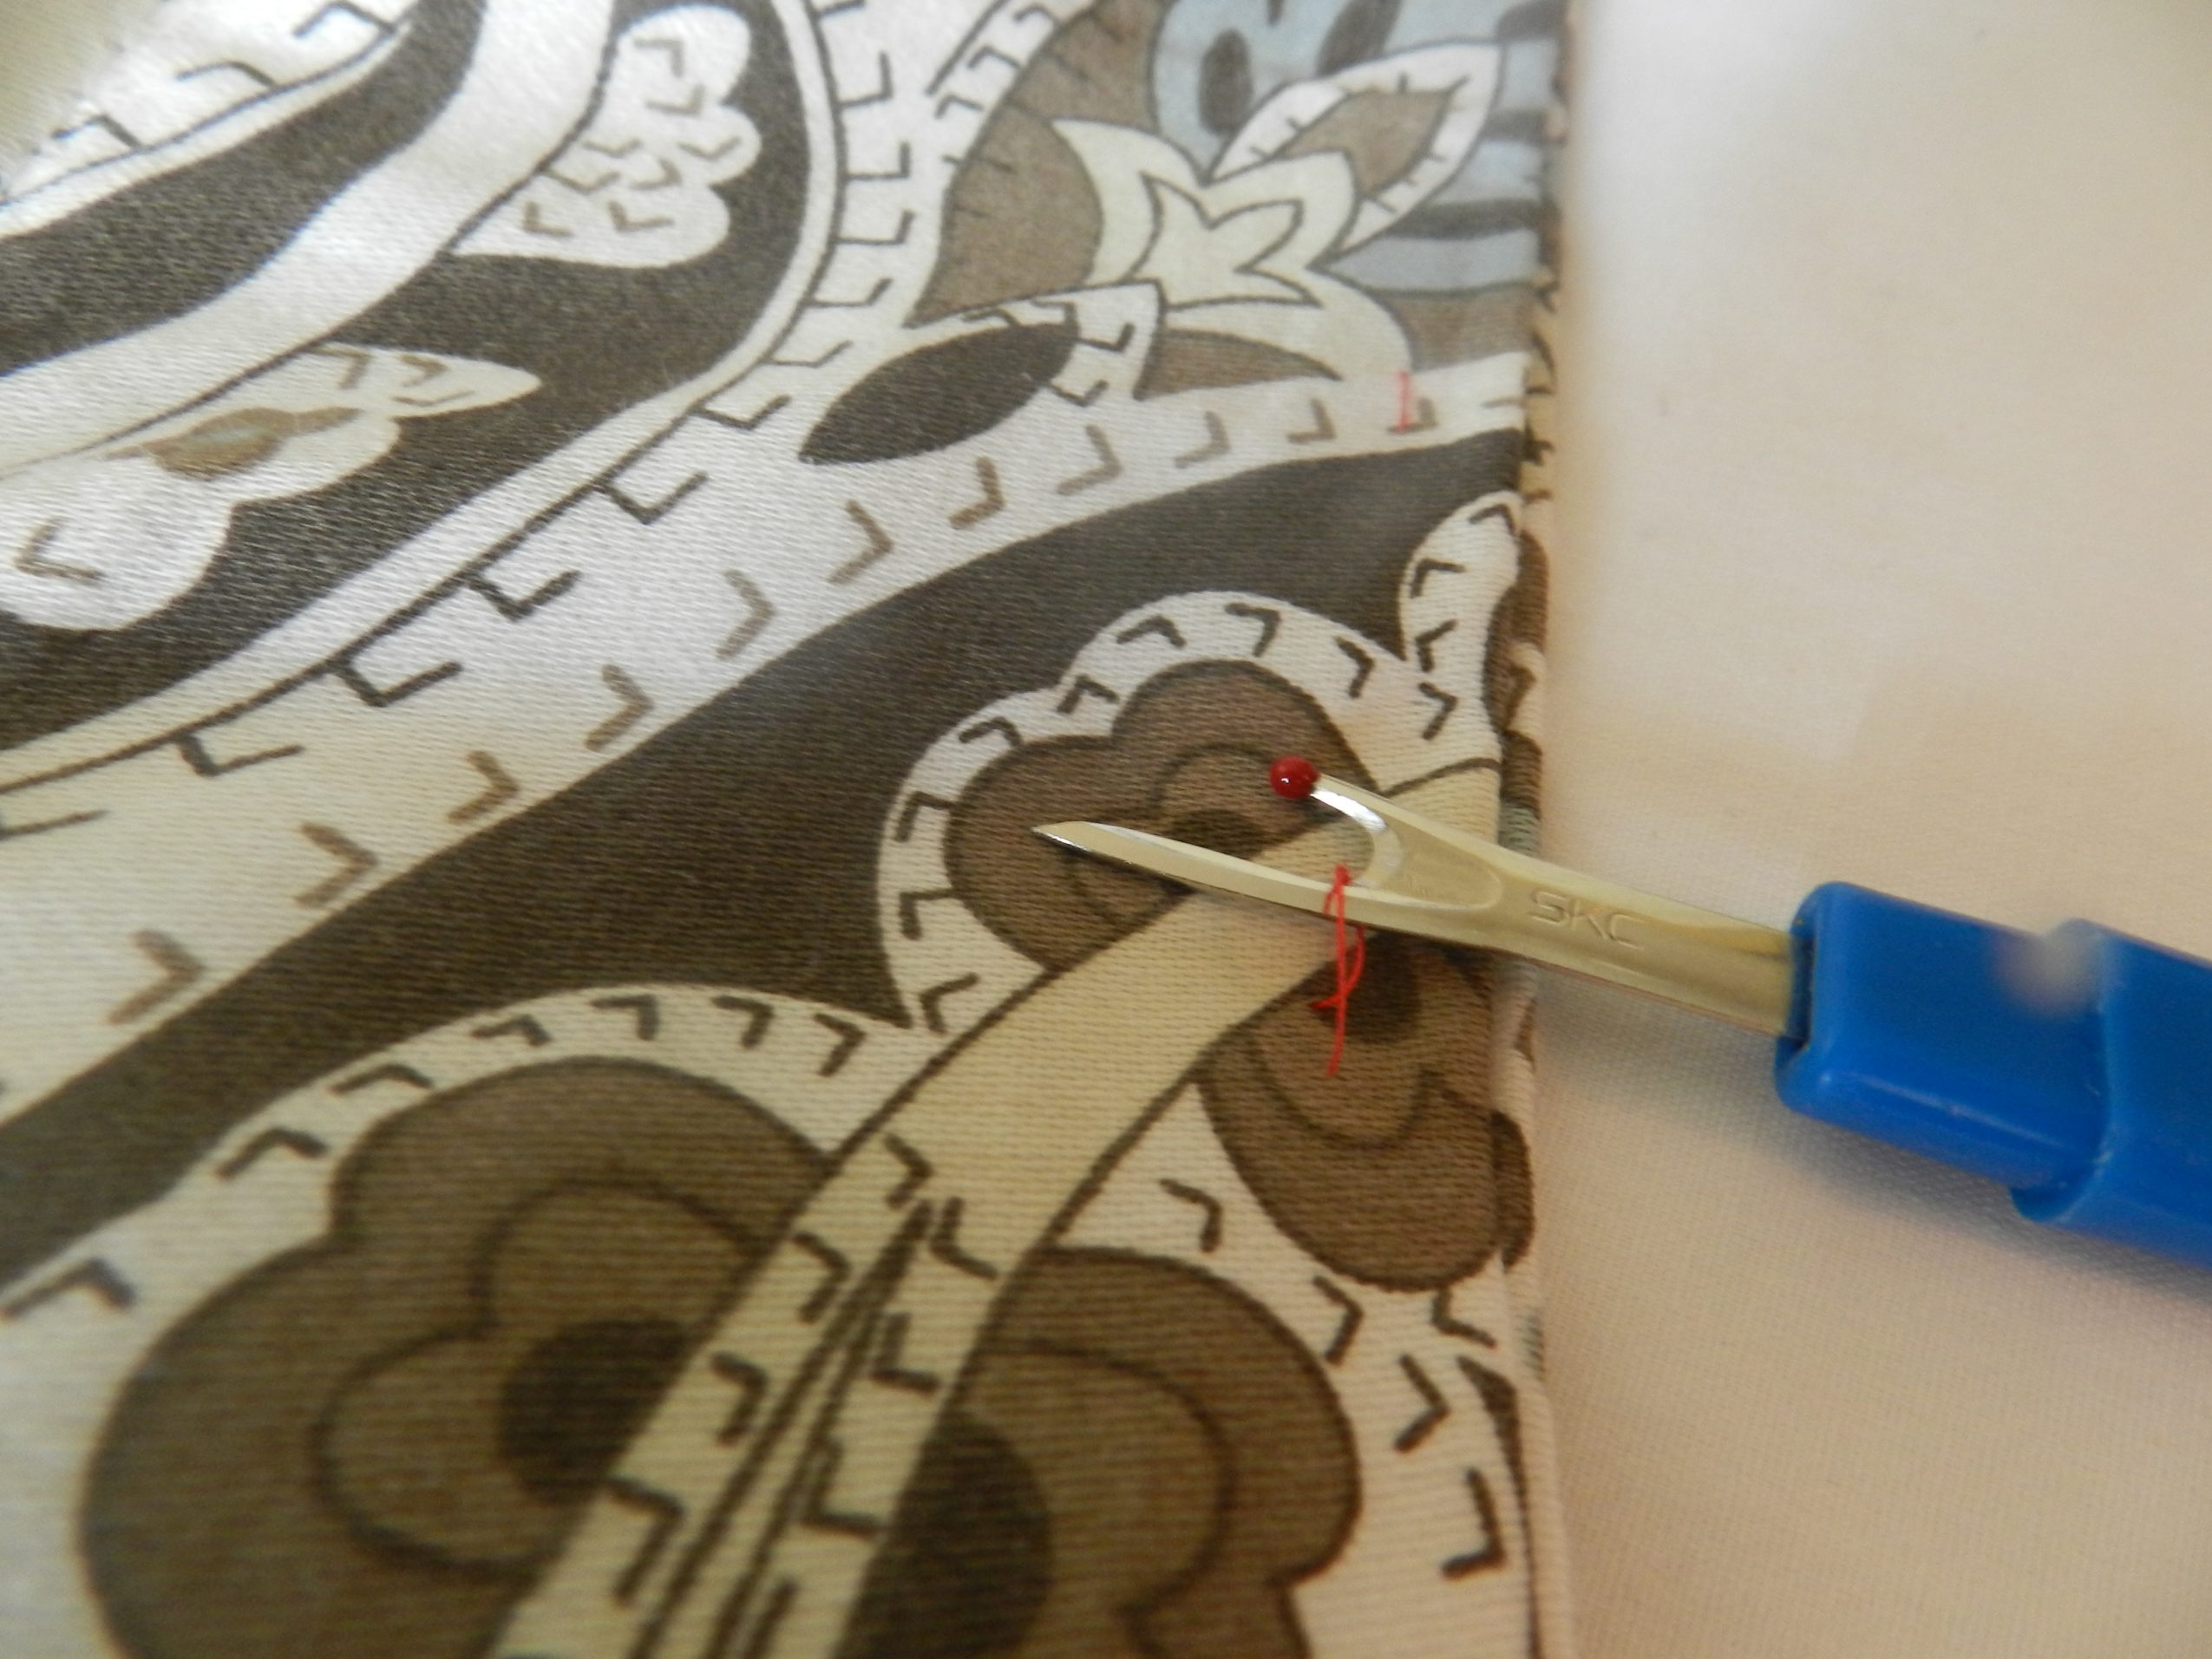
On the front of the pillow sham, there is a square-shaped topstitching. It’s actually the only stitching that you see when your sham is turned to the front side.
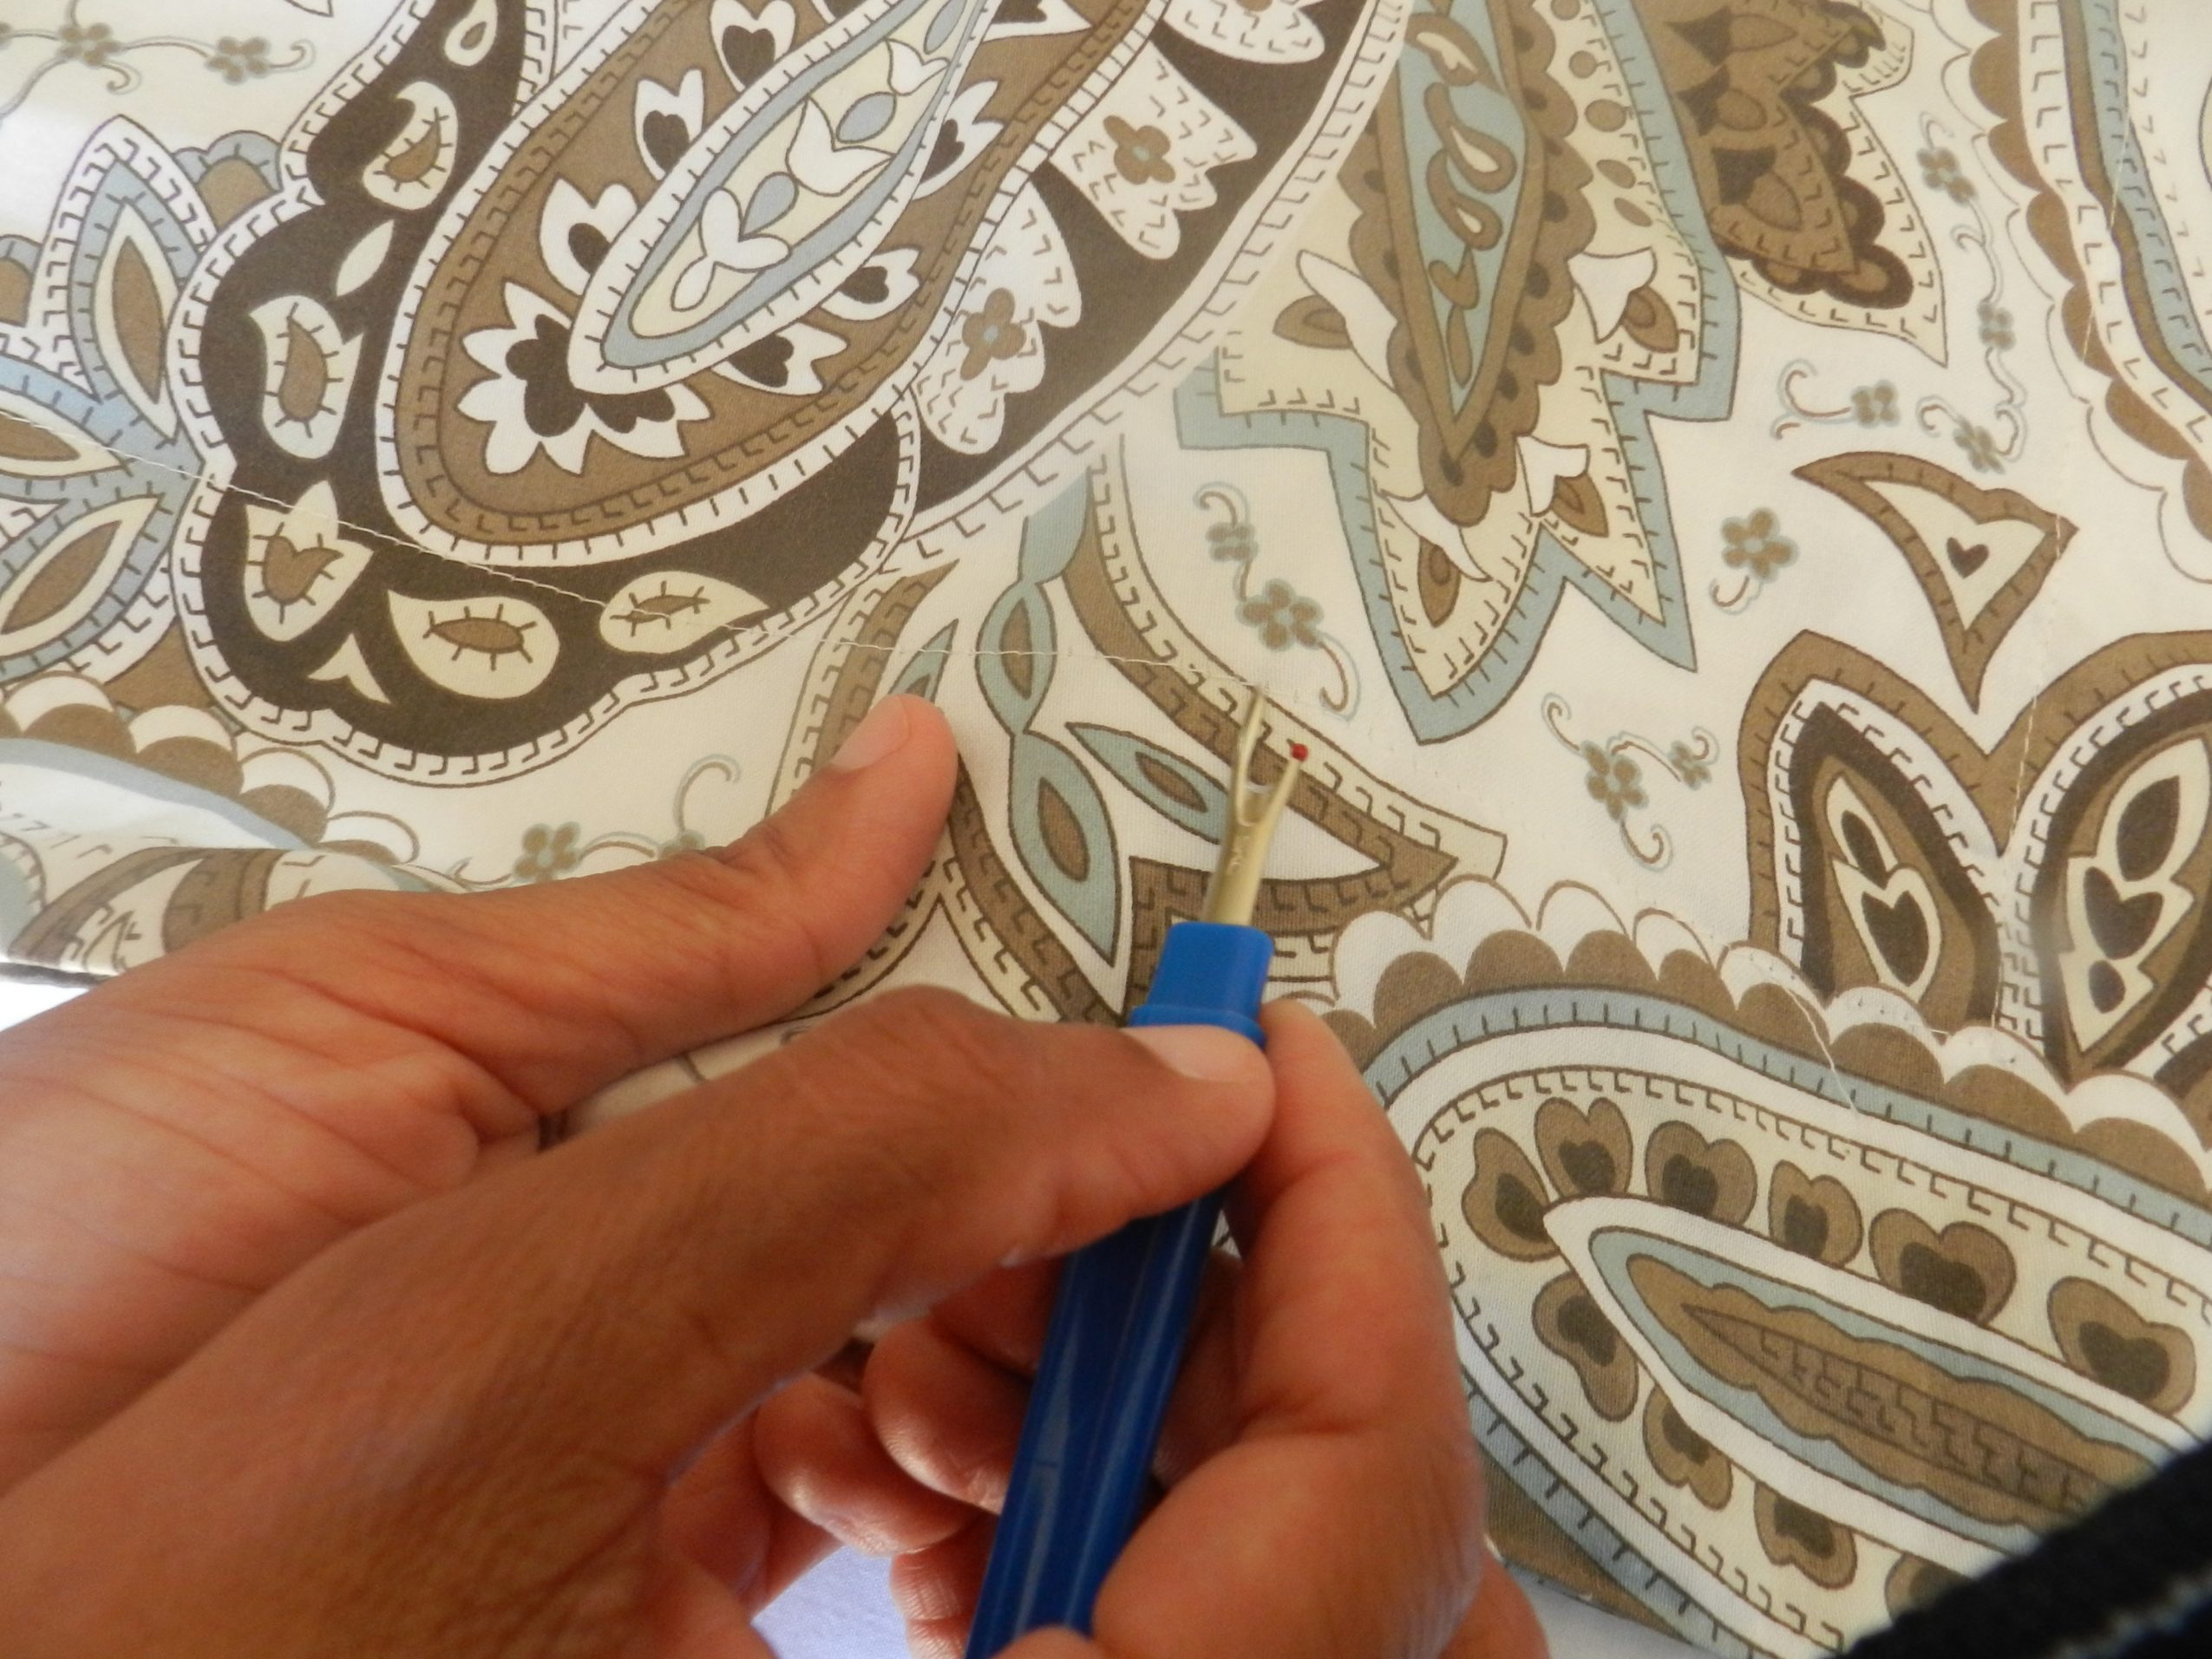
Using a seam ripper, take the stitch out all the way around. If the color seems different in these pictures, it was because of the different lighting. I was working during the daytime on some and at night on some.
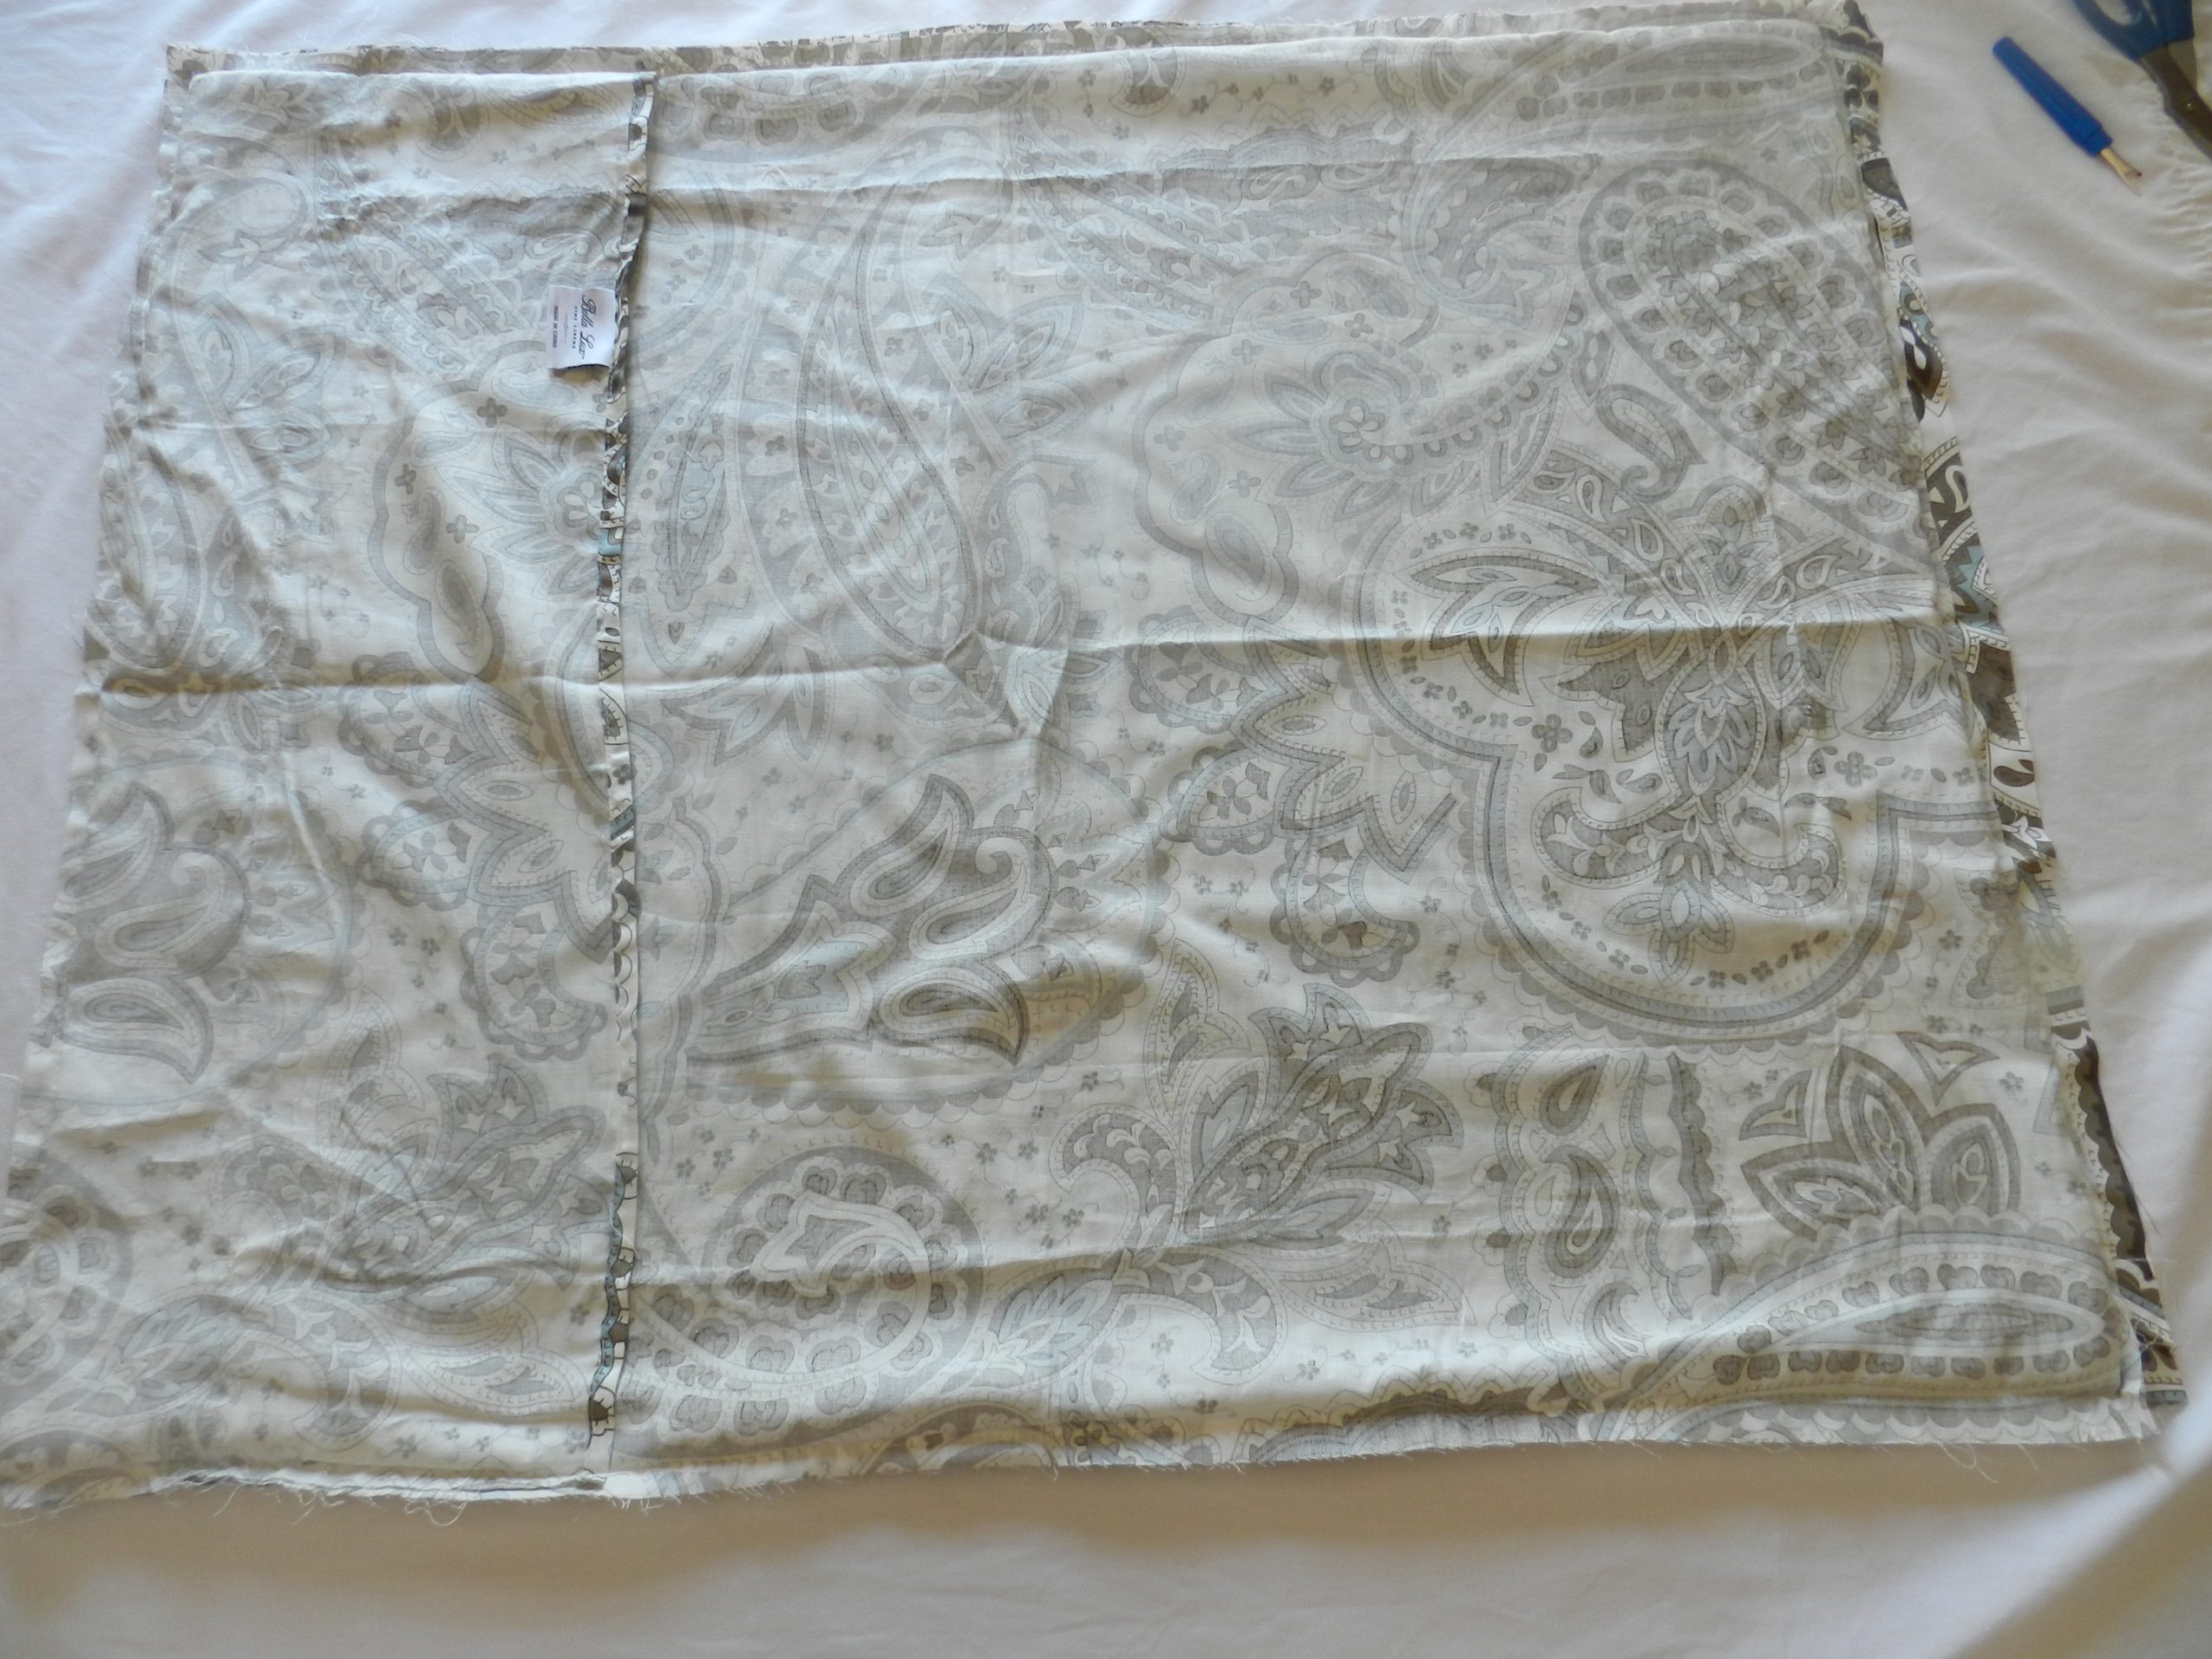
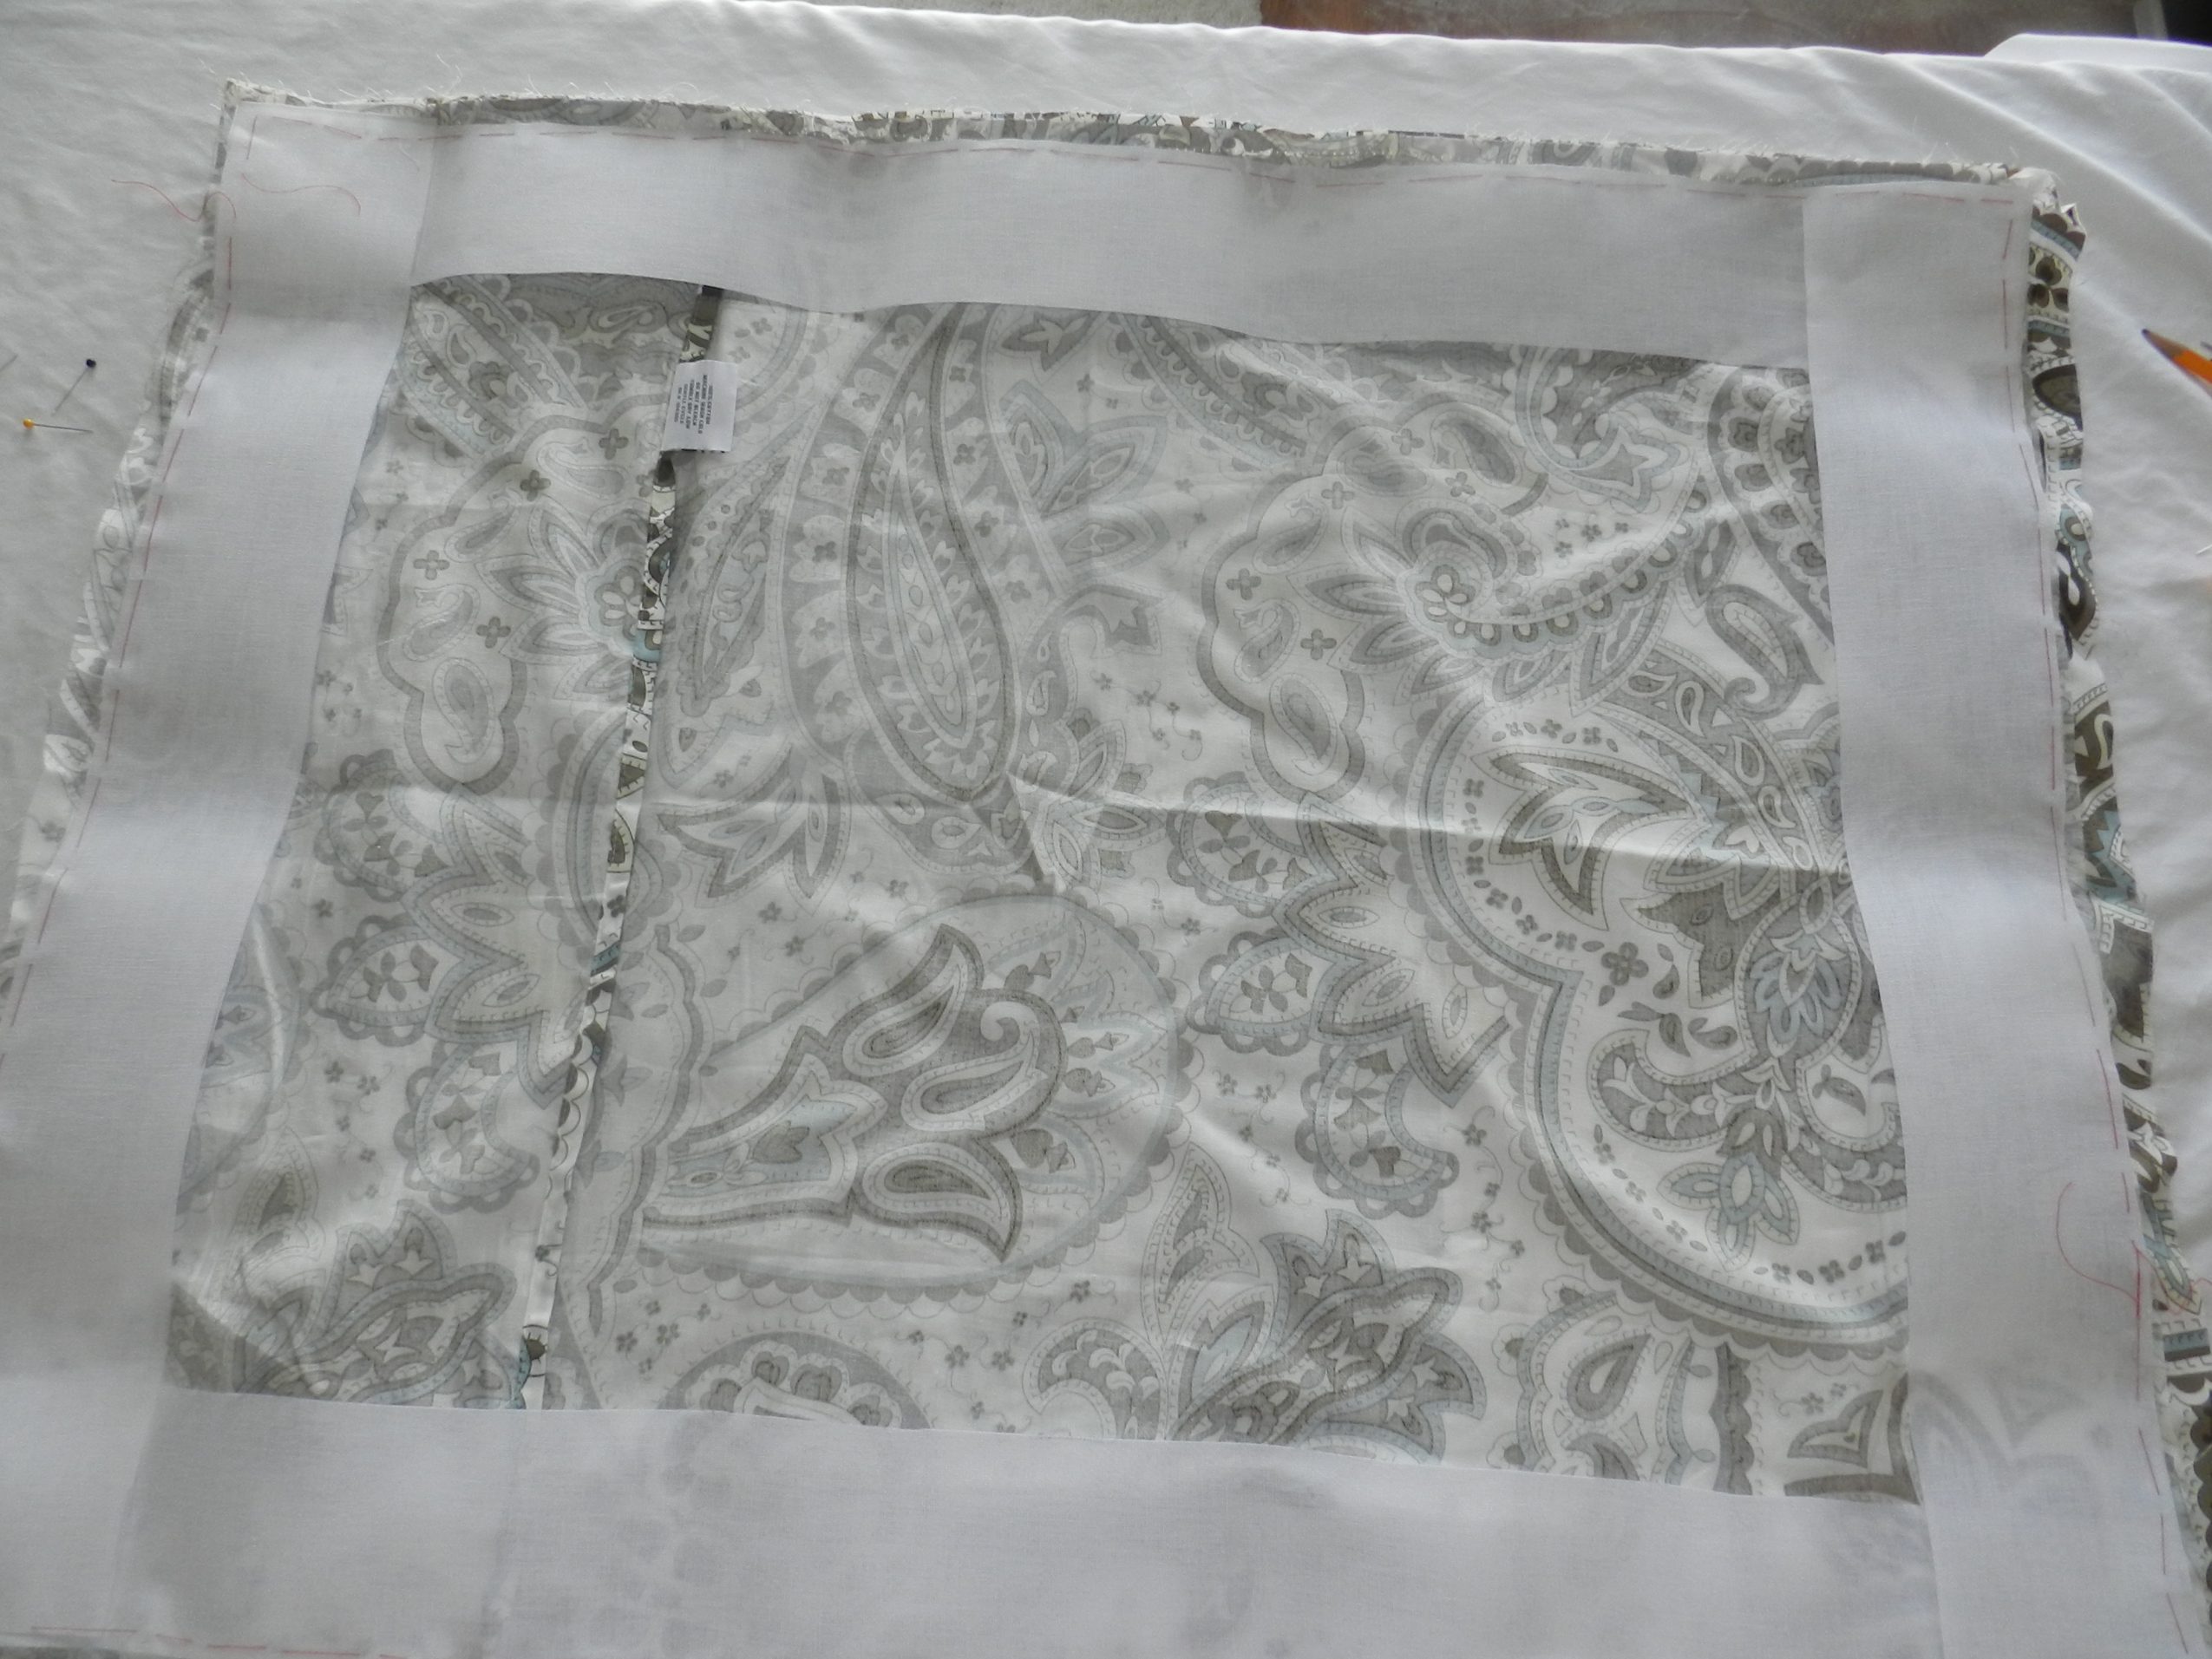
Turn the sham inside out and lay flat. You will notice that there is still a seam at the edge. Do not remove this seam.
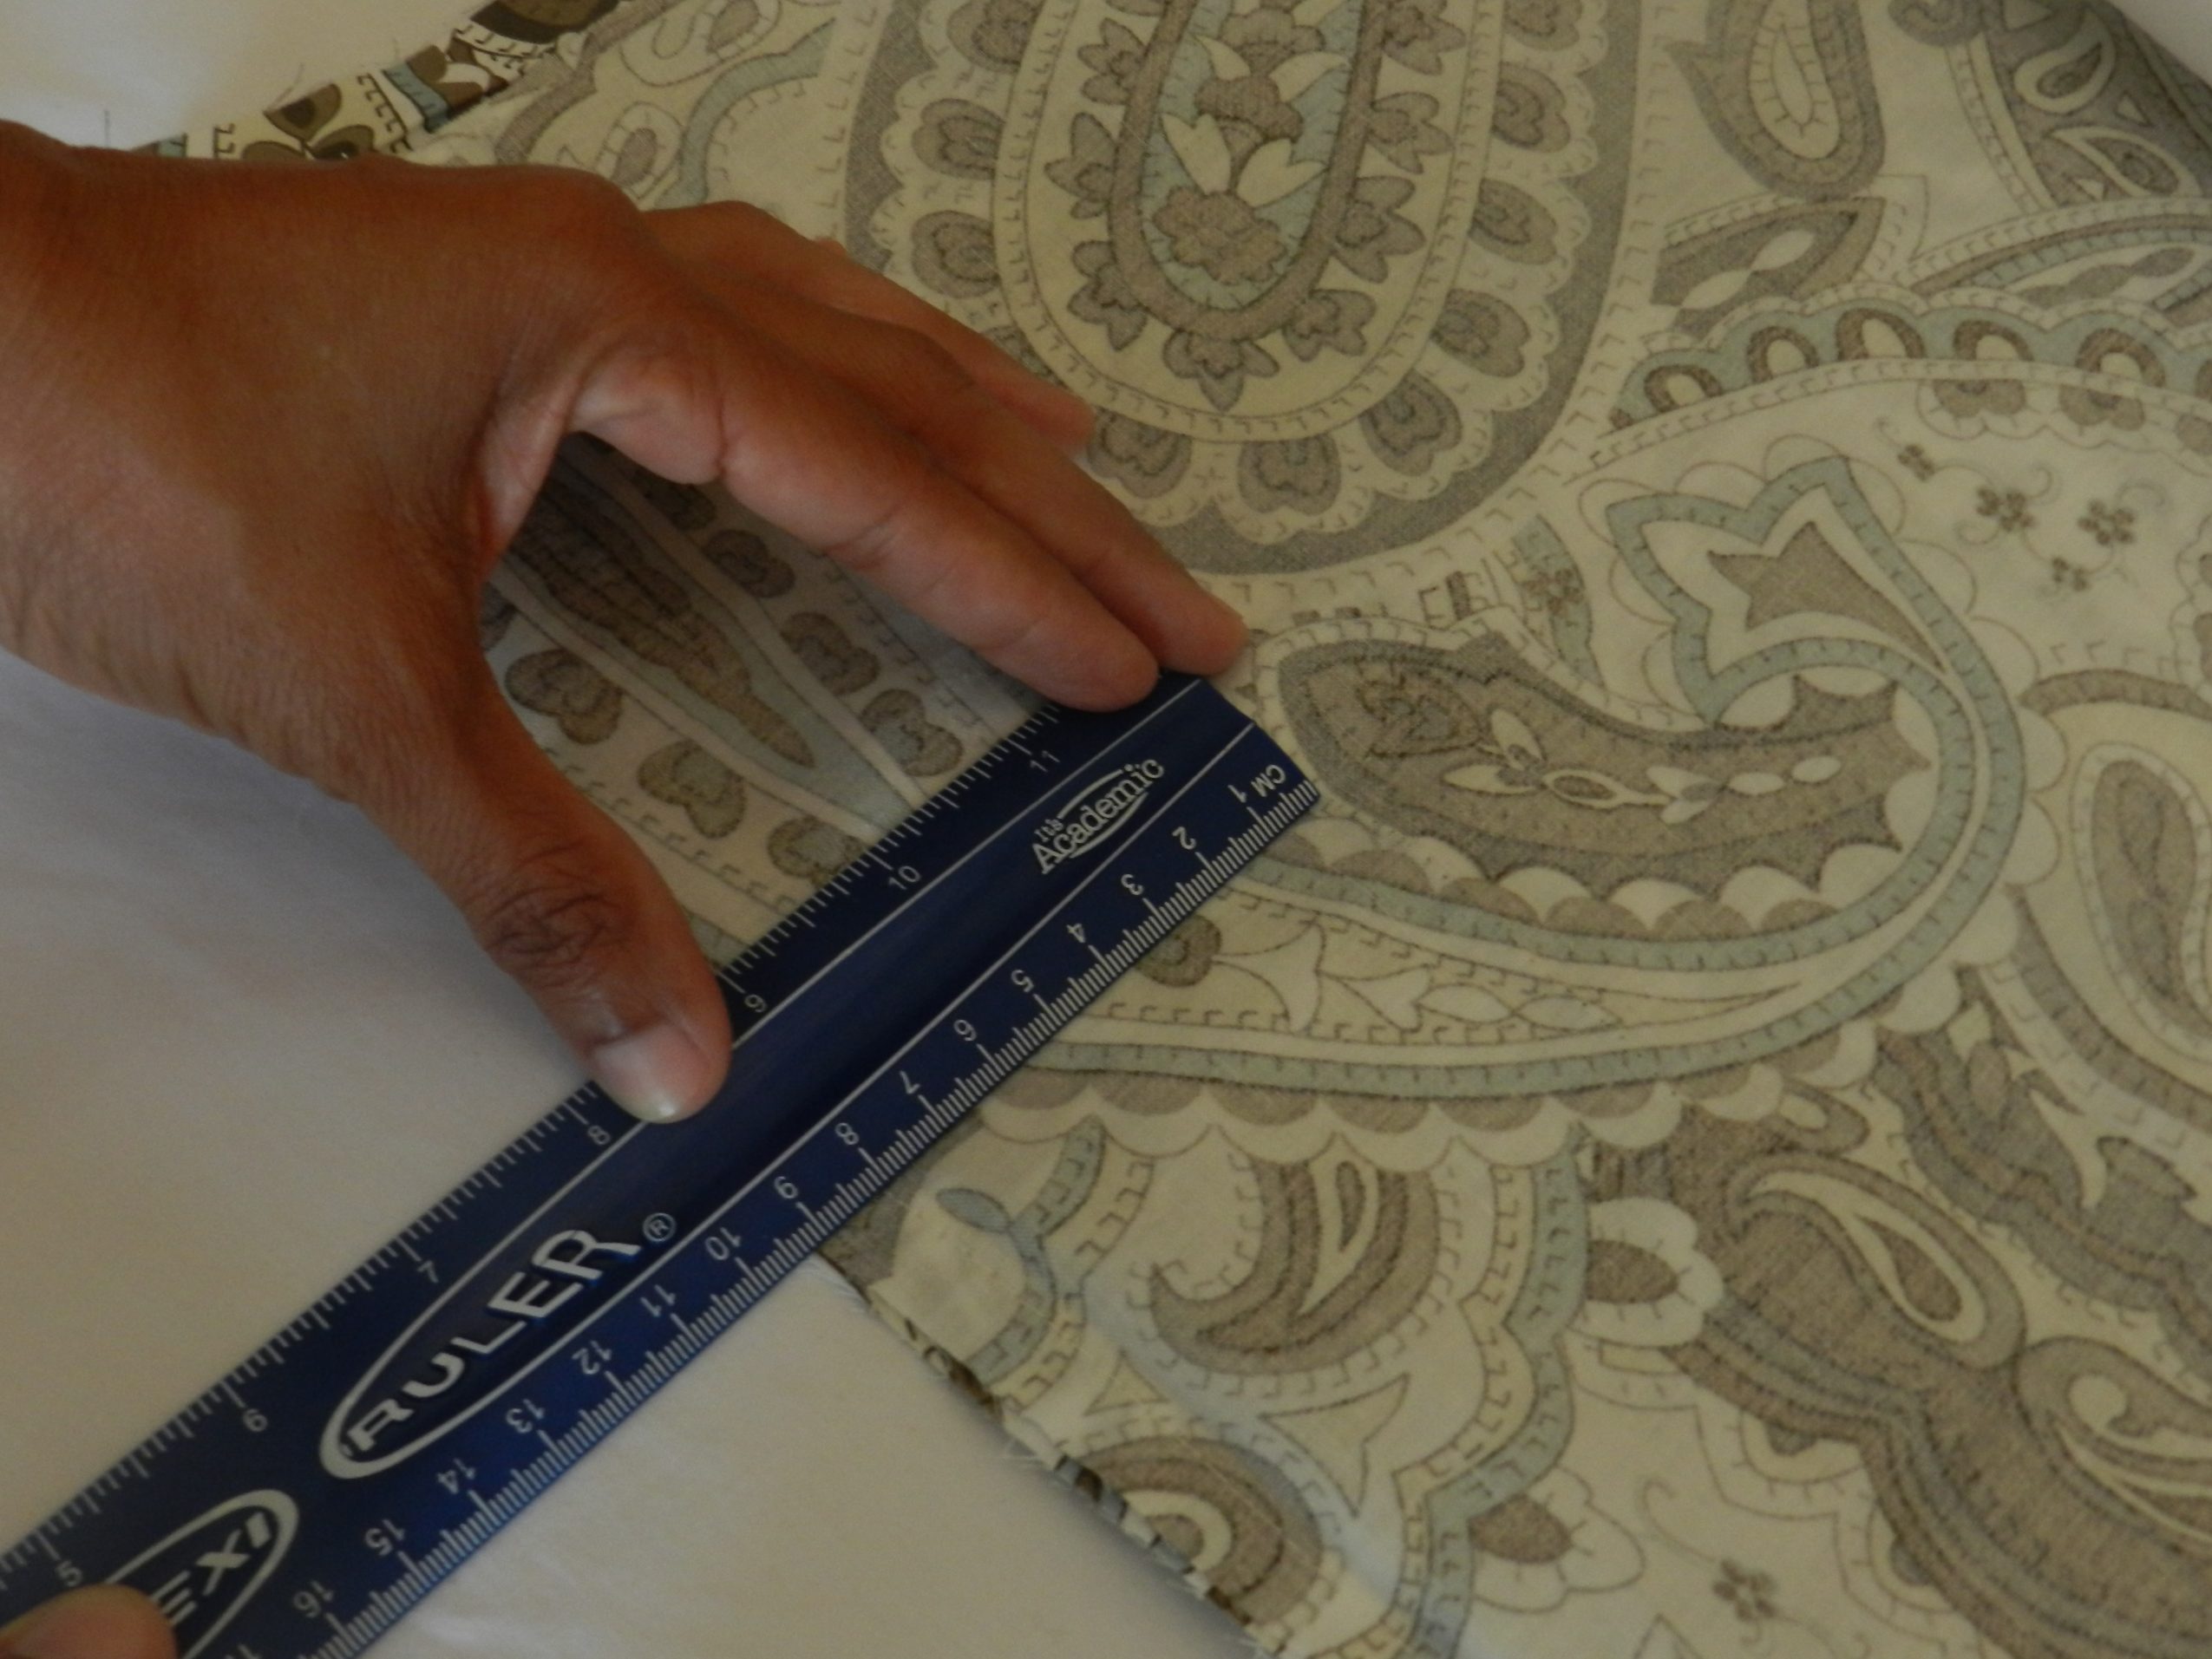
Measure the material from the edge of sham to the original seam that you just took out. Mines measured 9cm.
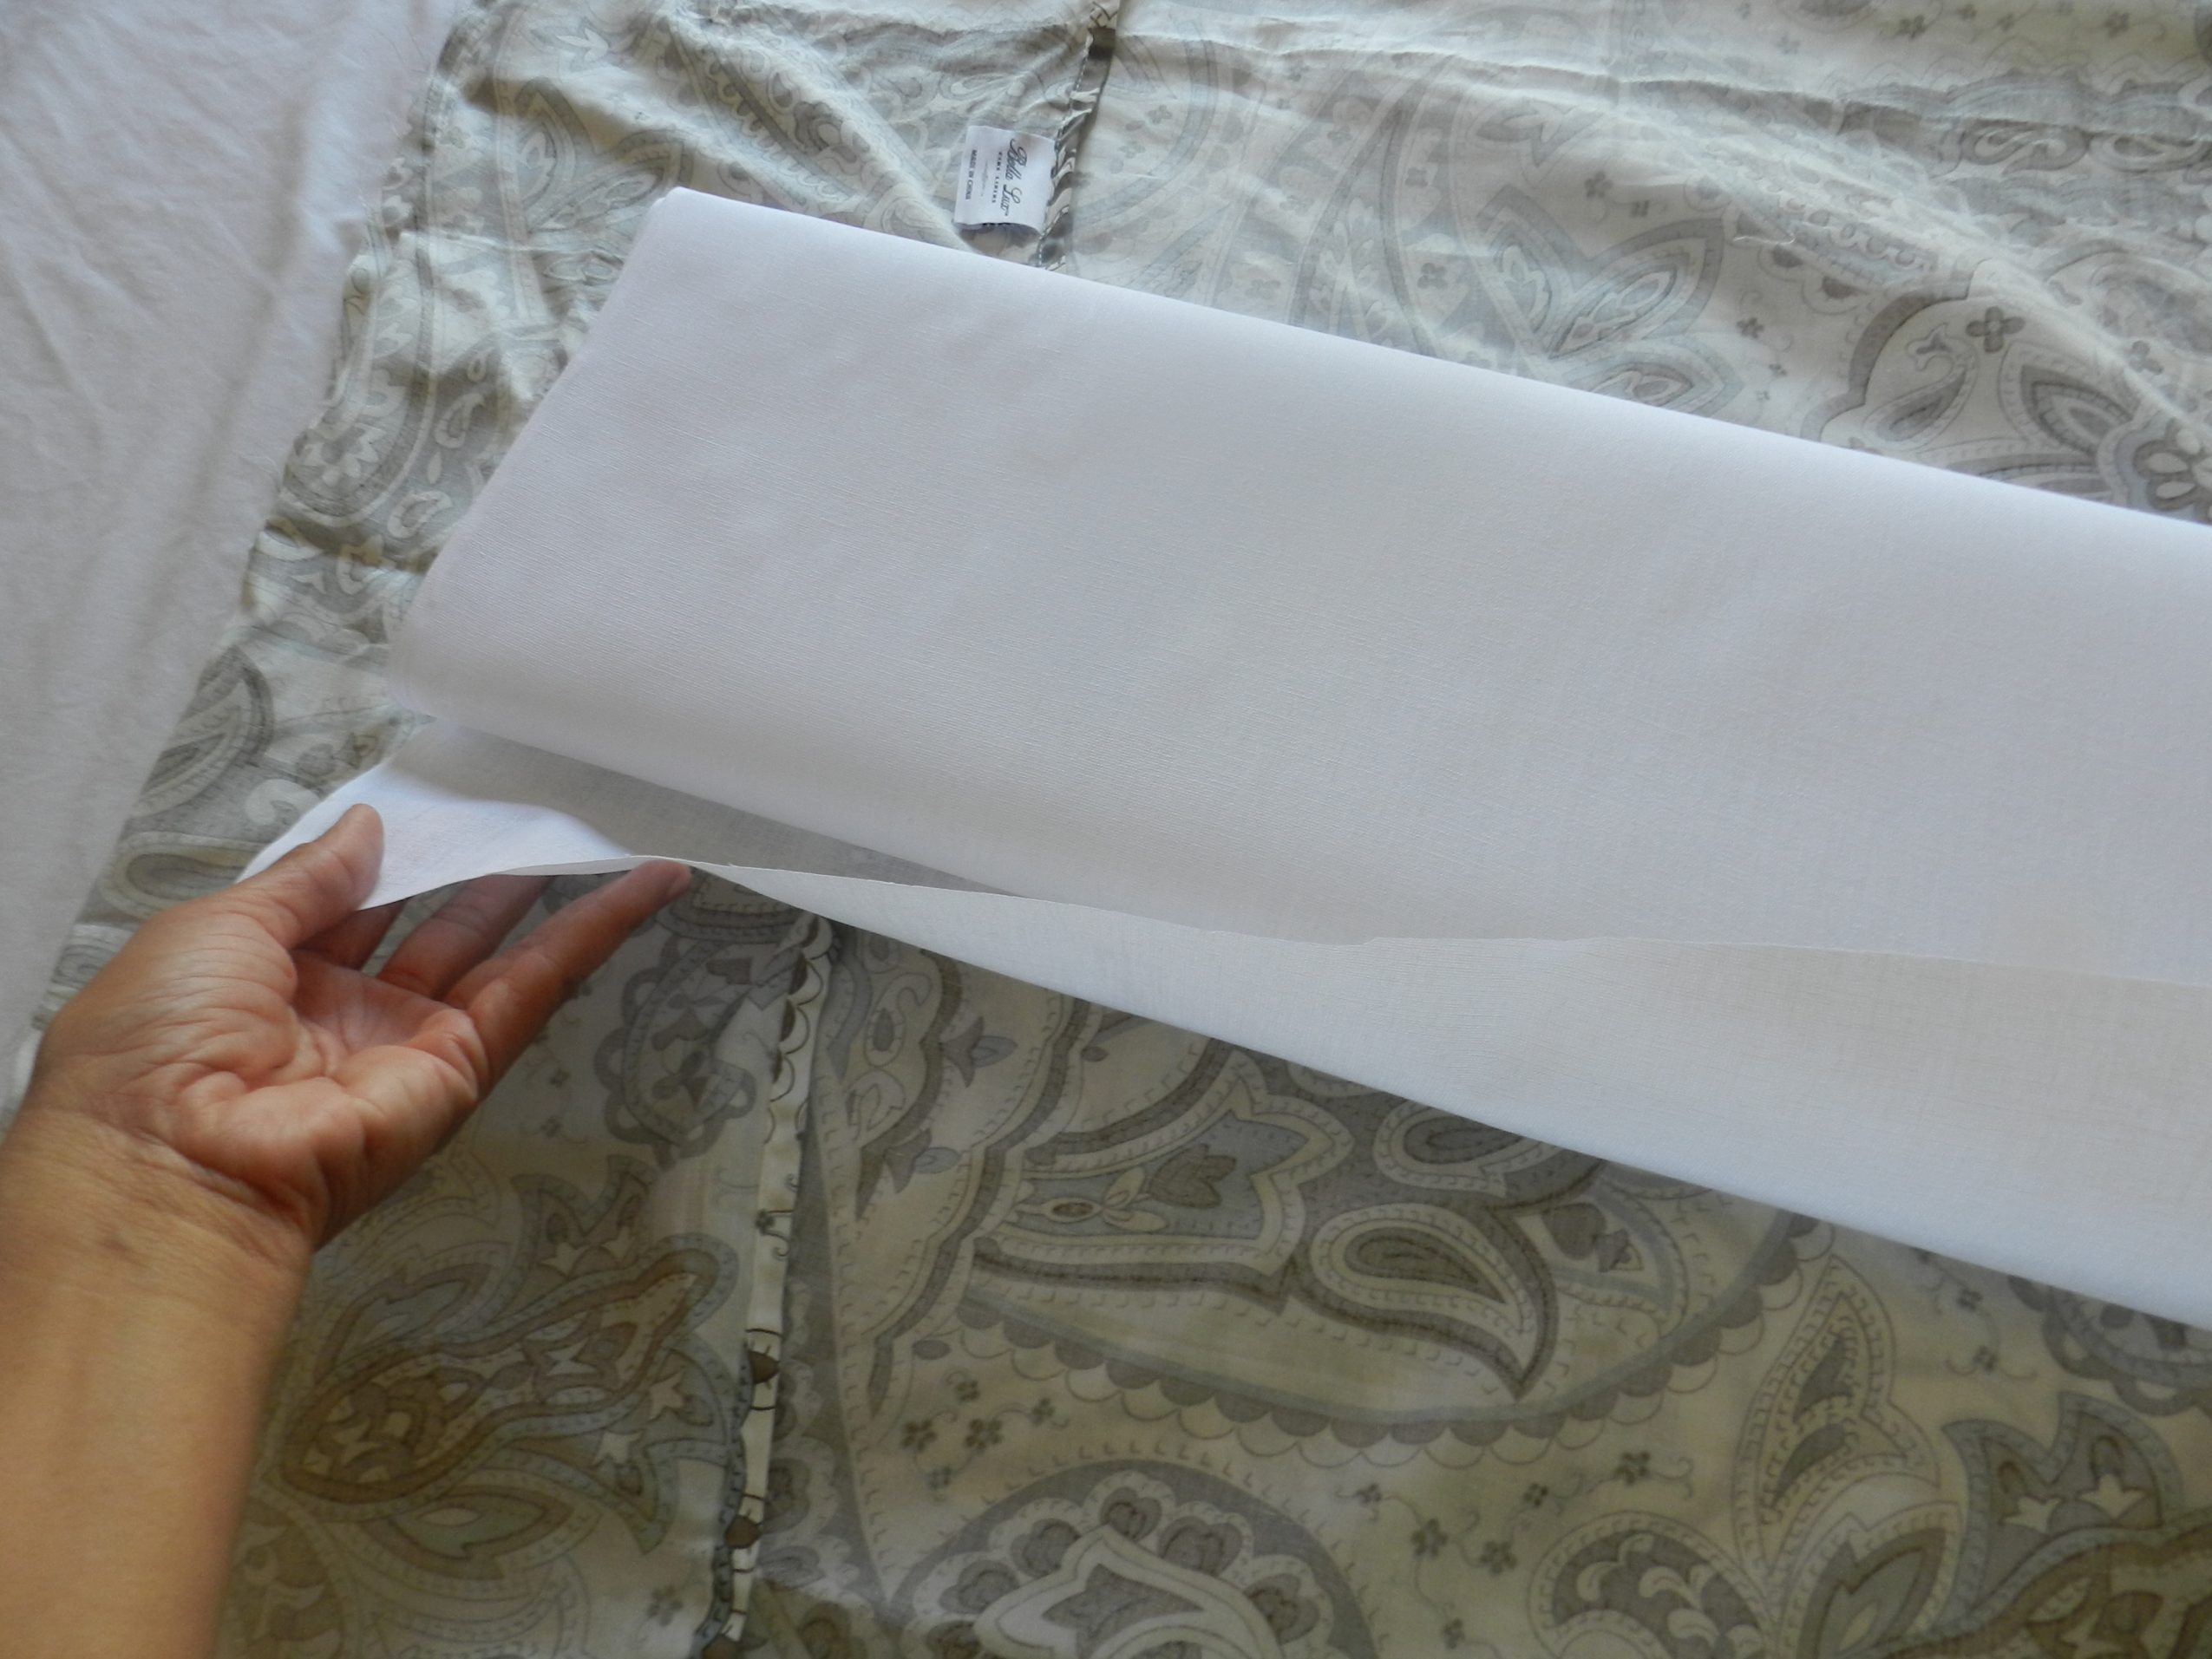
I’m using a Buckram material that is very stiff. It was $4.99 per yard. Of course, I had a coupon to use at Joanne’s Fabric. They always have at least a 40-50% off coupon each week.
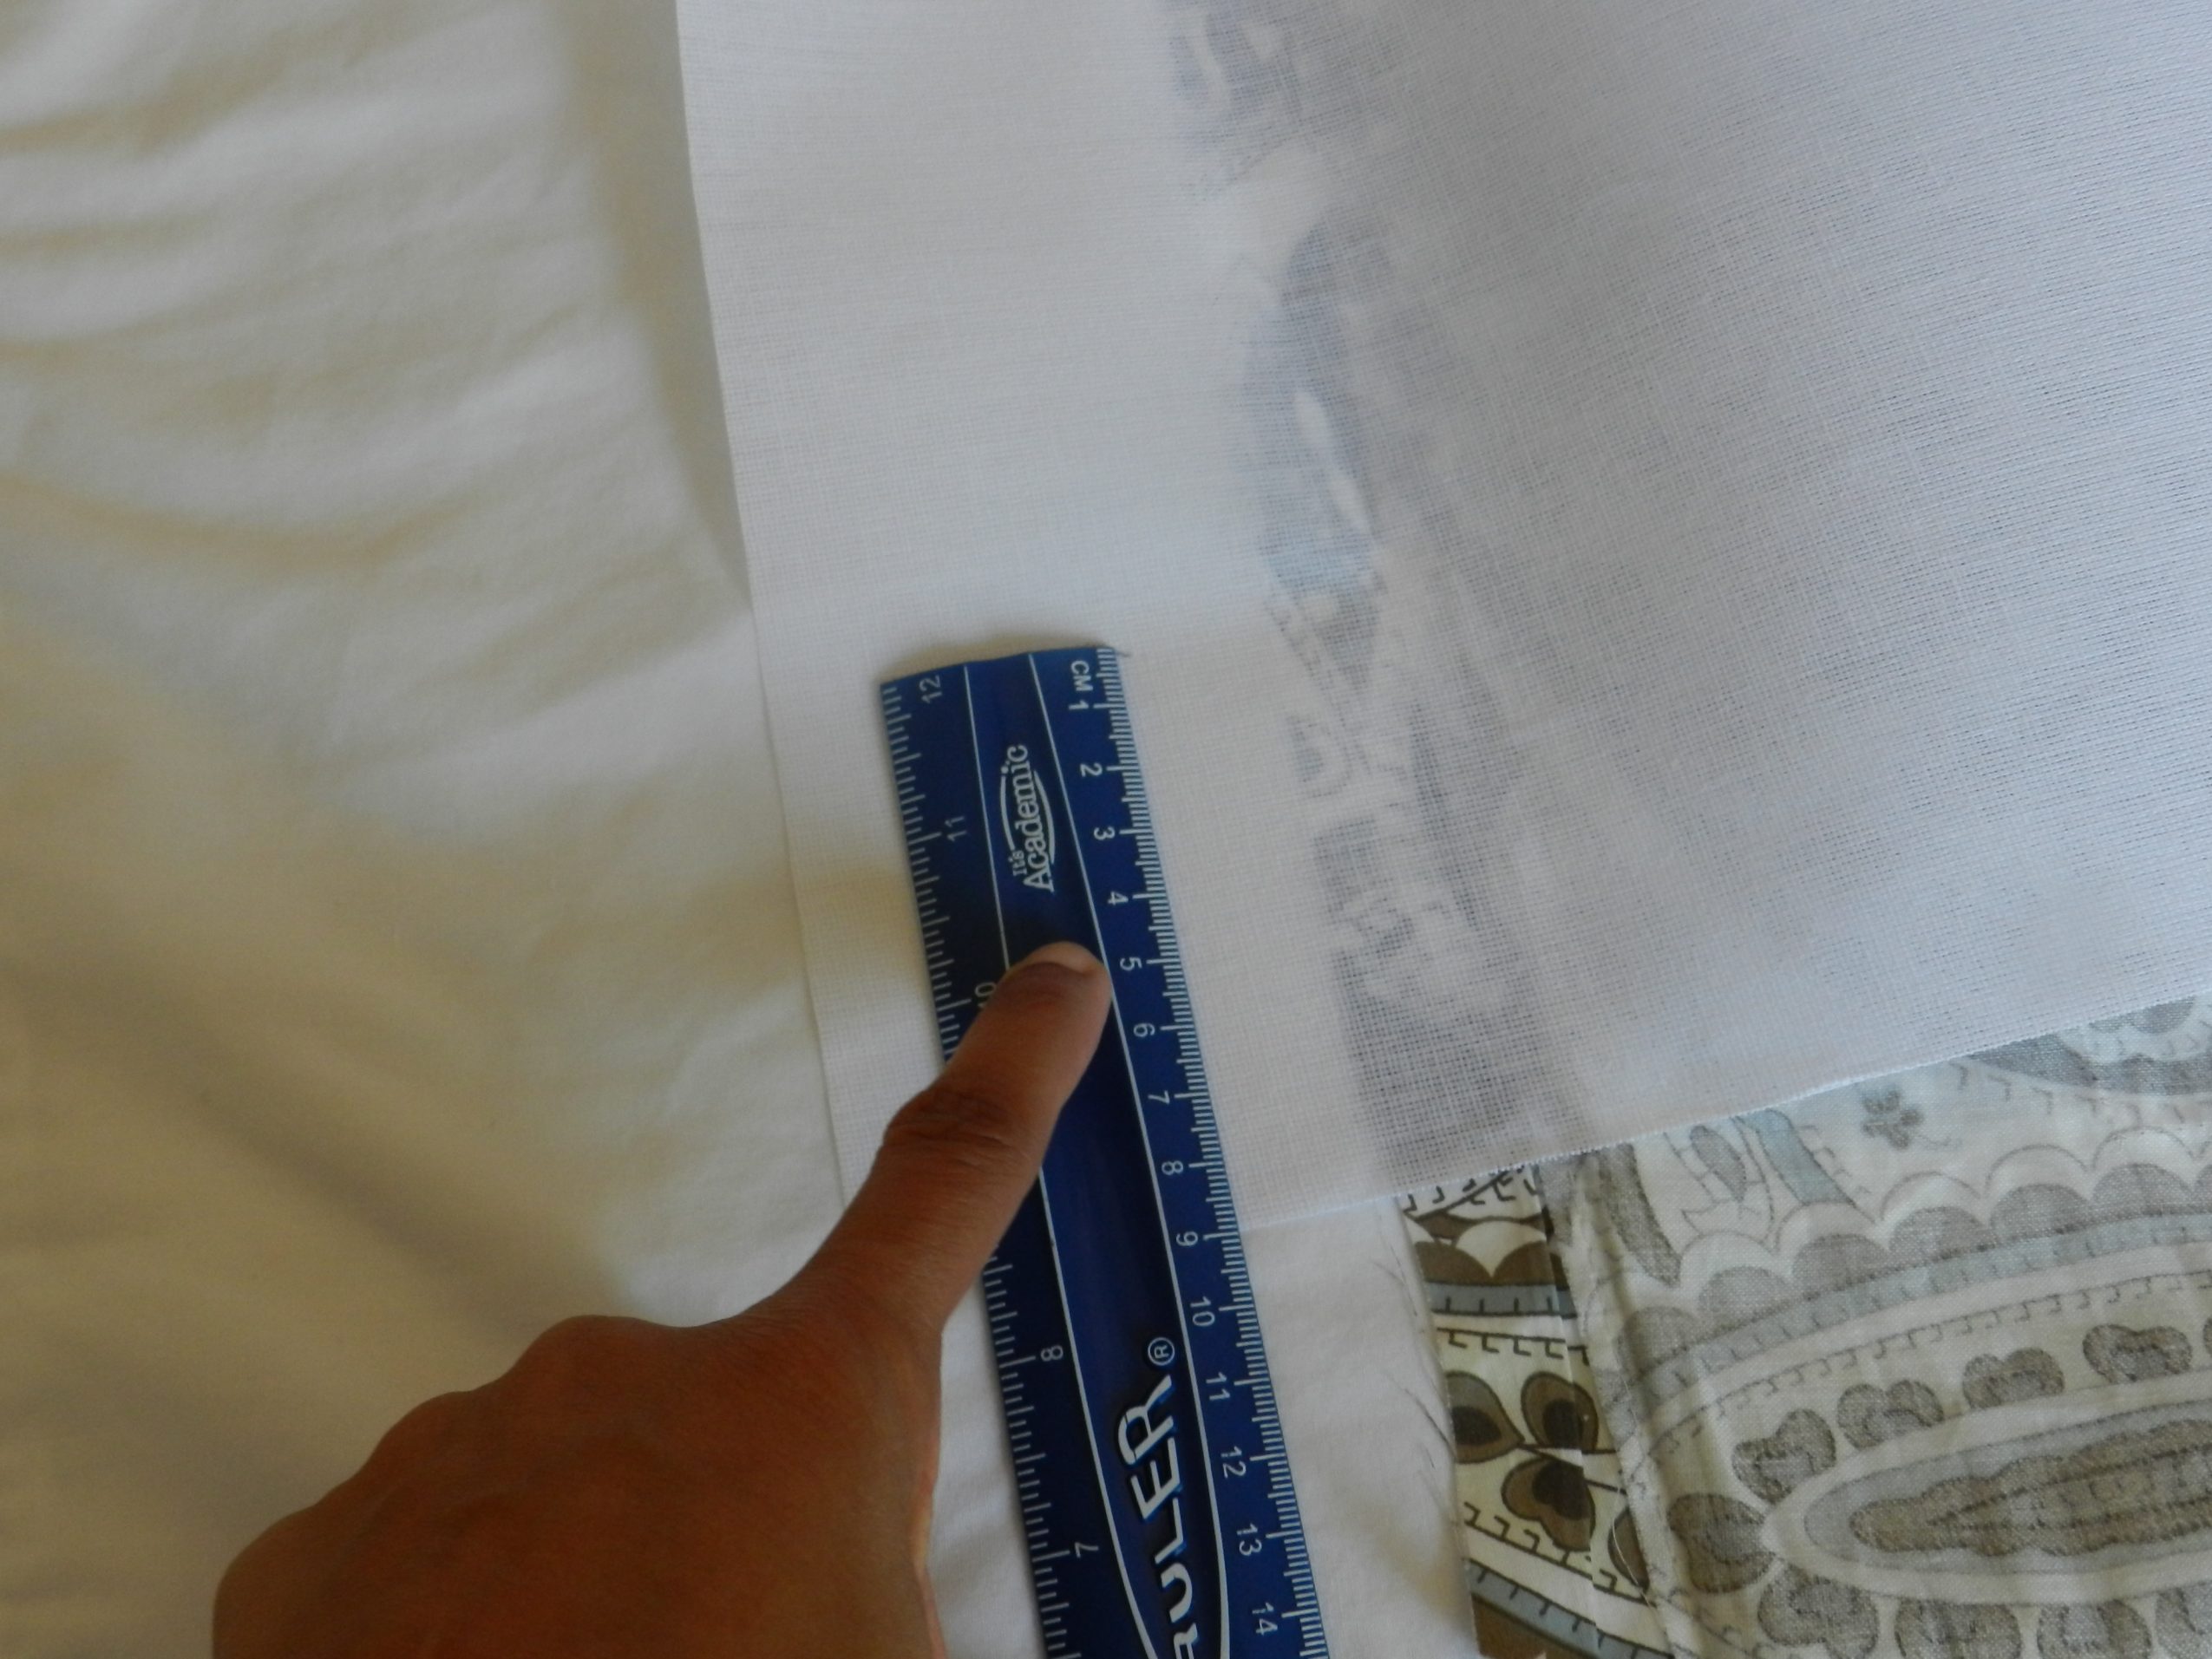
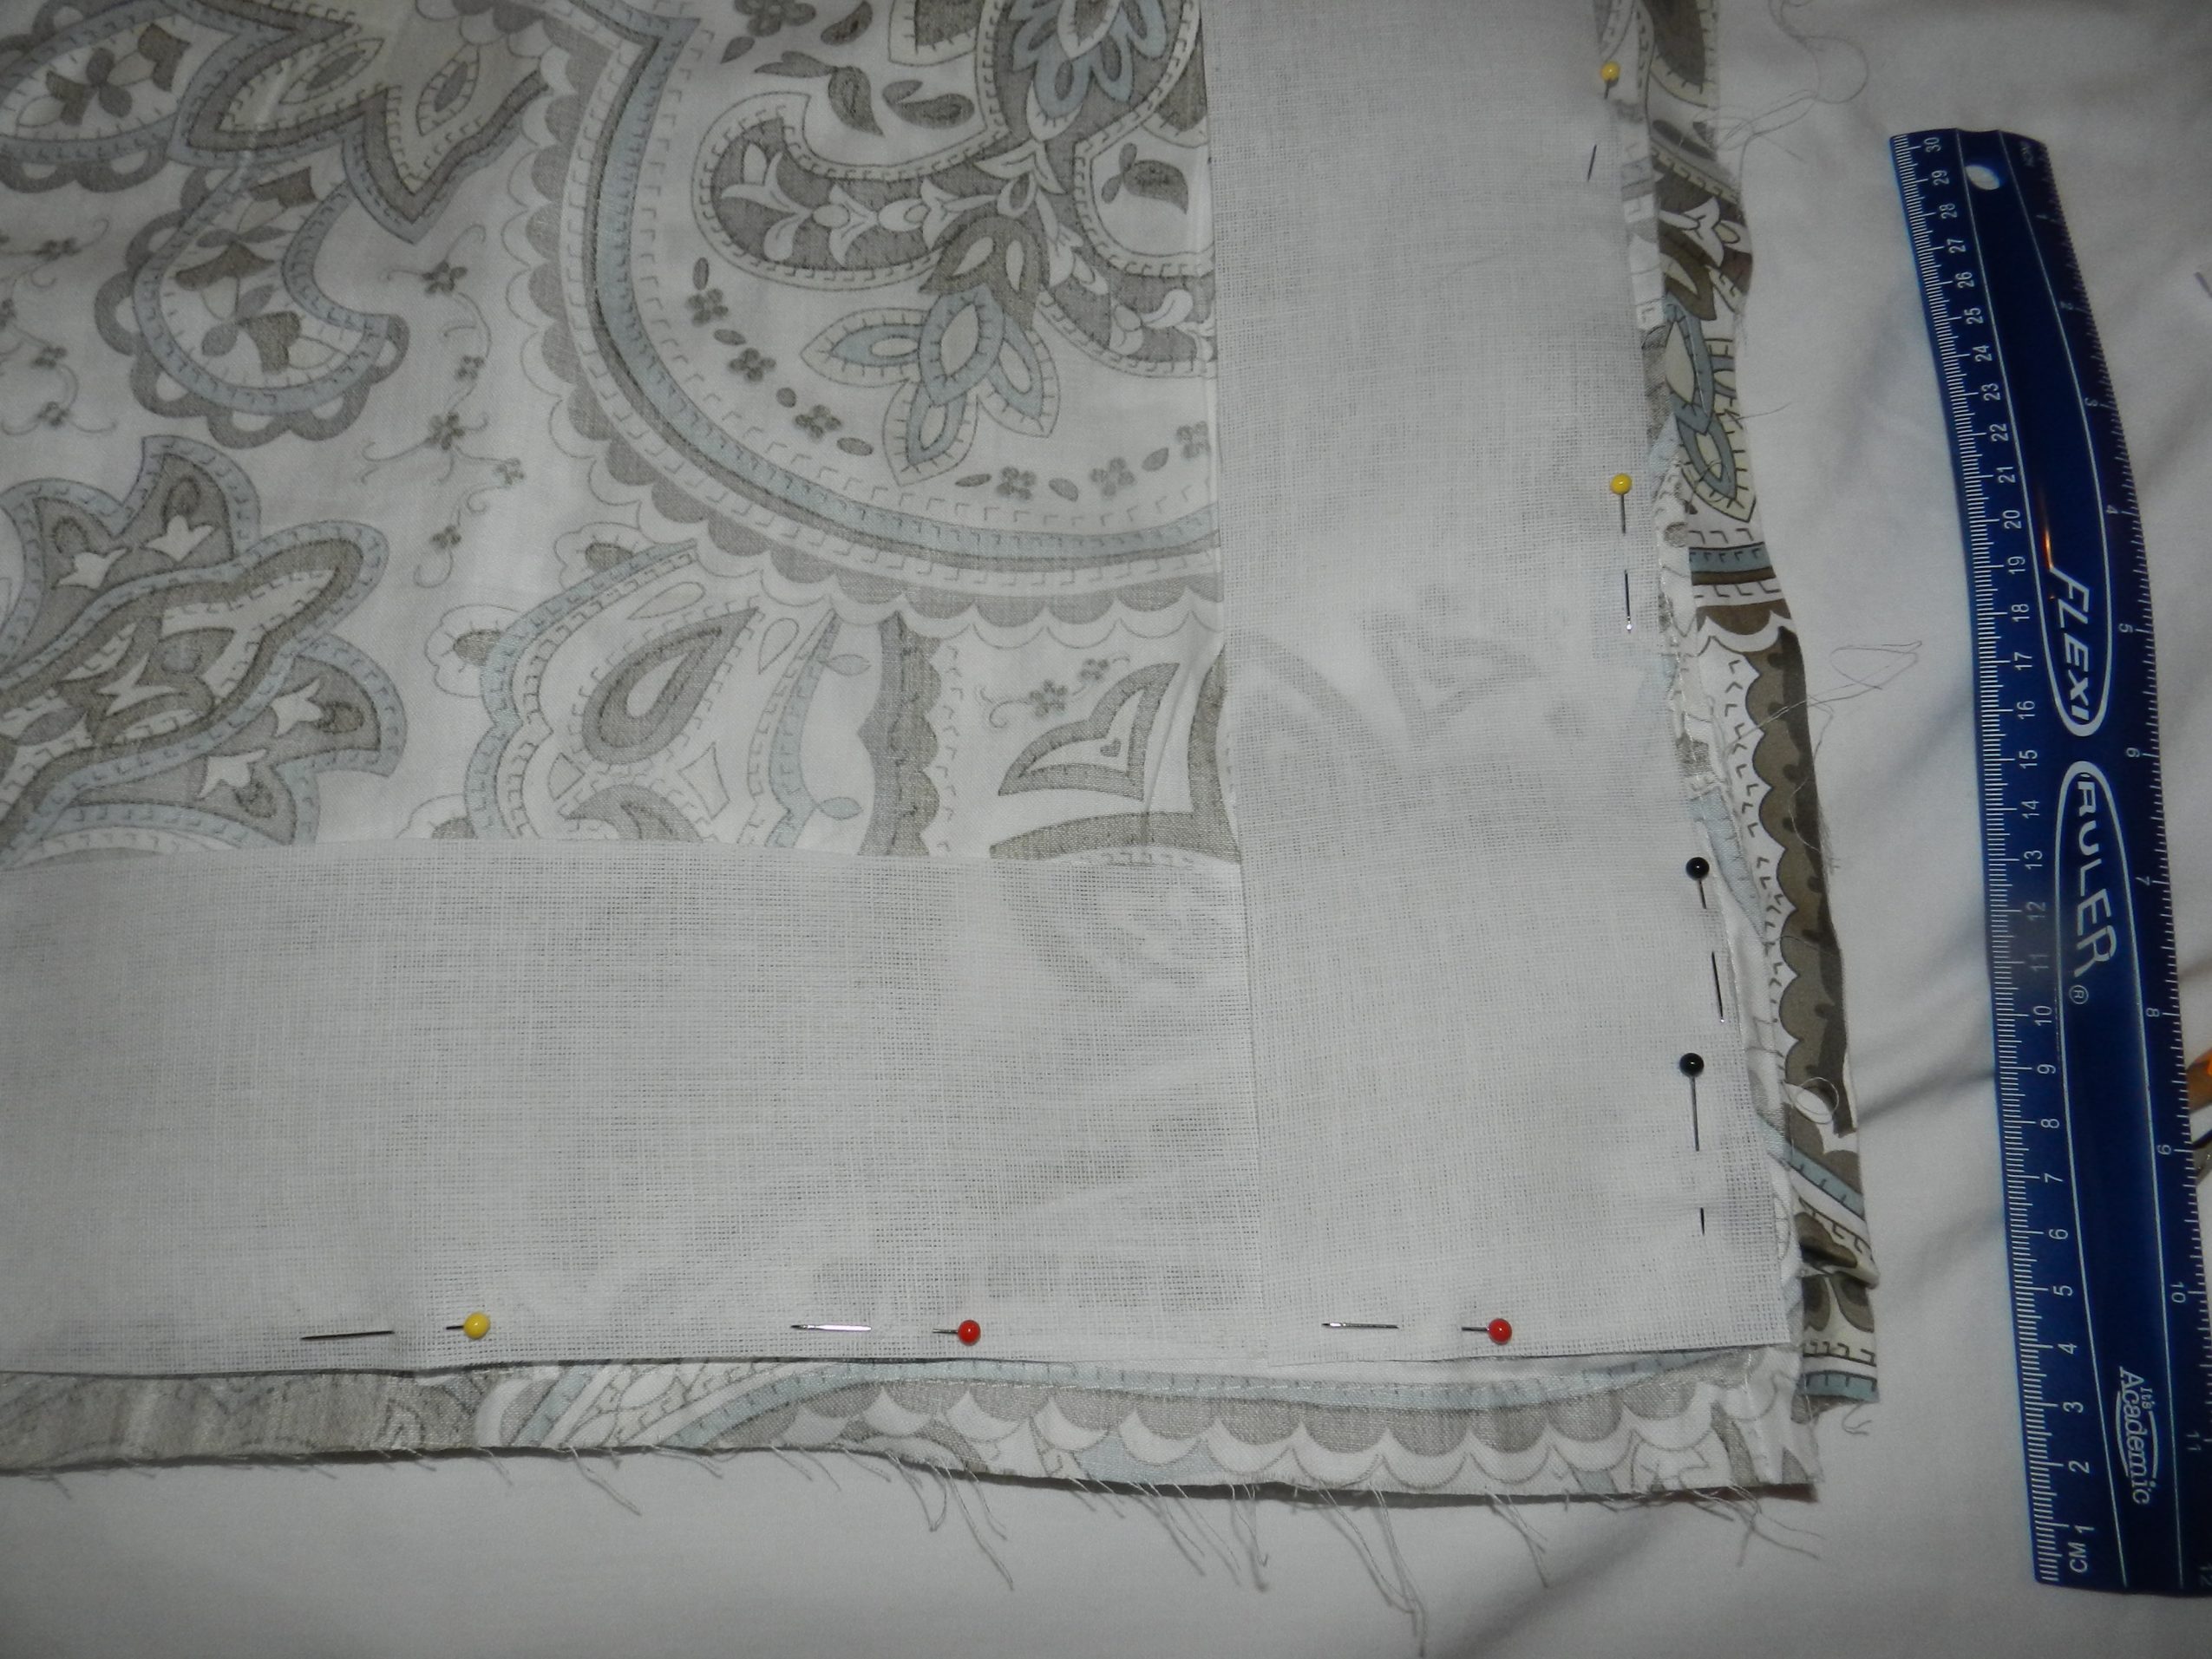
Measure the buckram at the same measurements as you had for measuring the pillow sham. Remember, mines was 9cm, so I’m measuring the buckram up 9cm and cut the length of the sides.
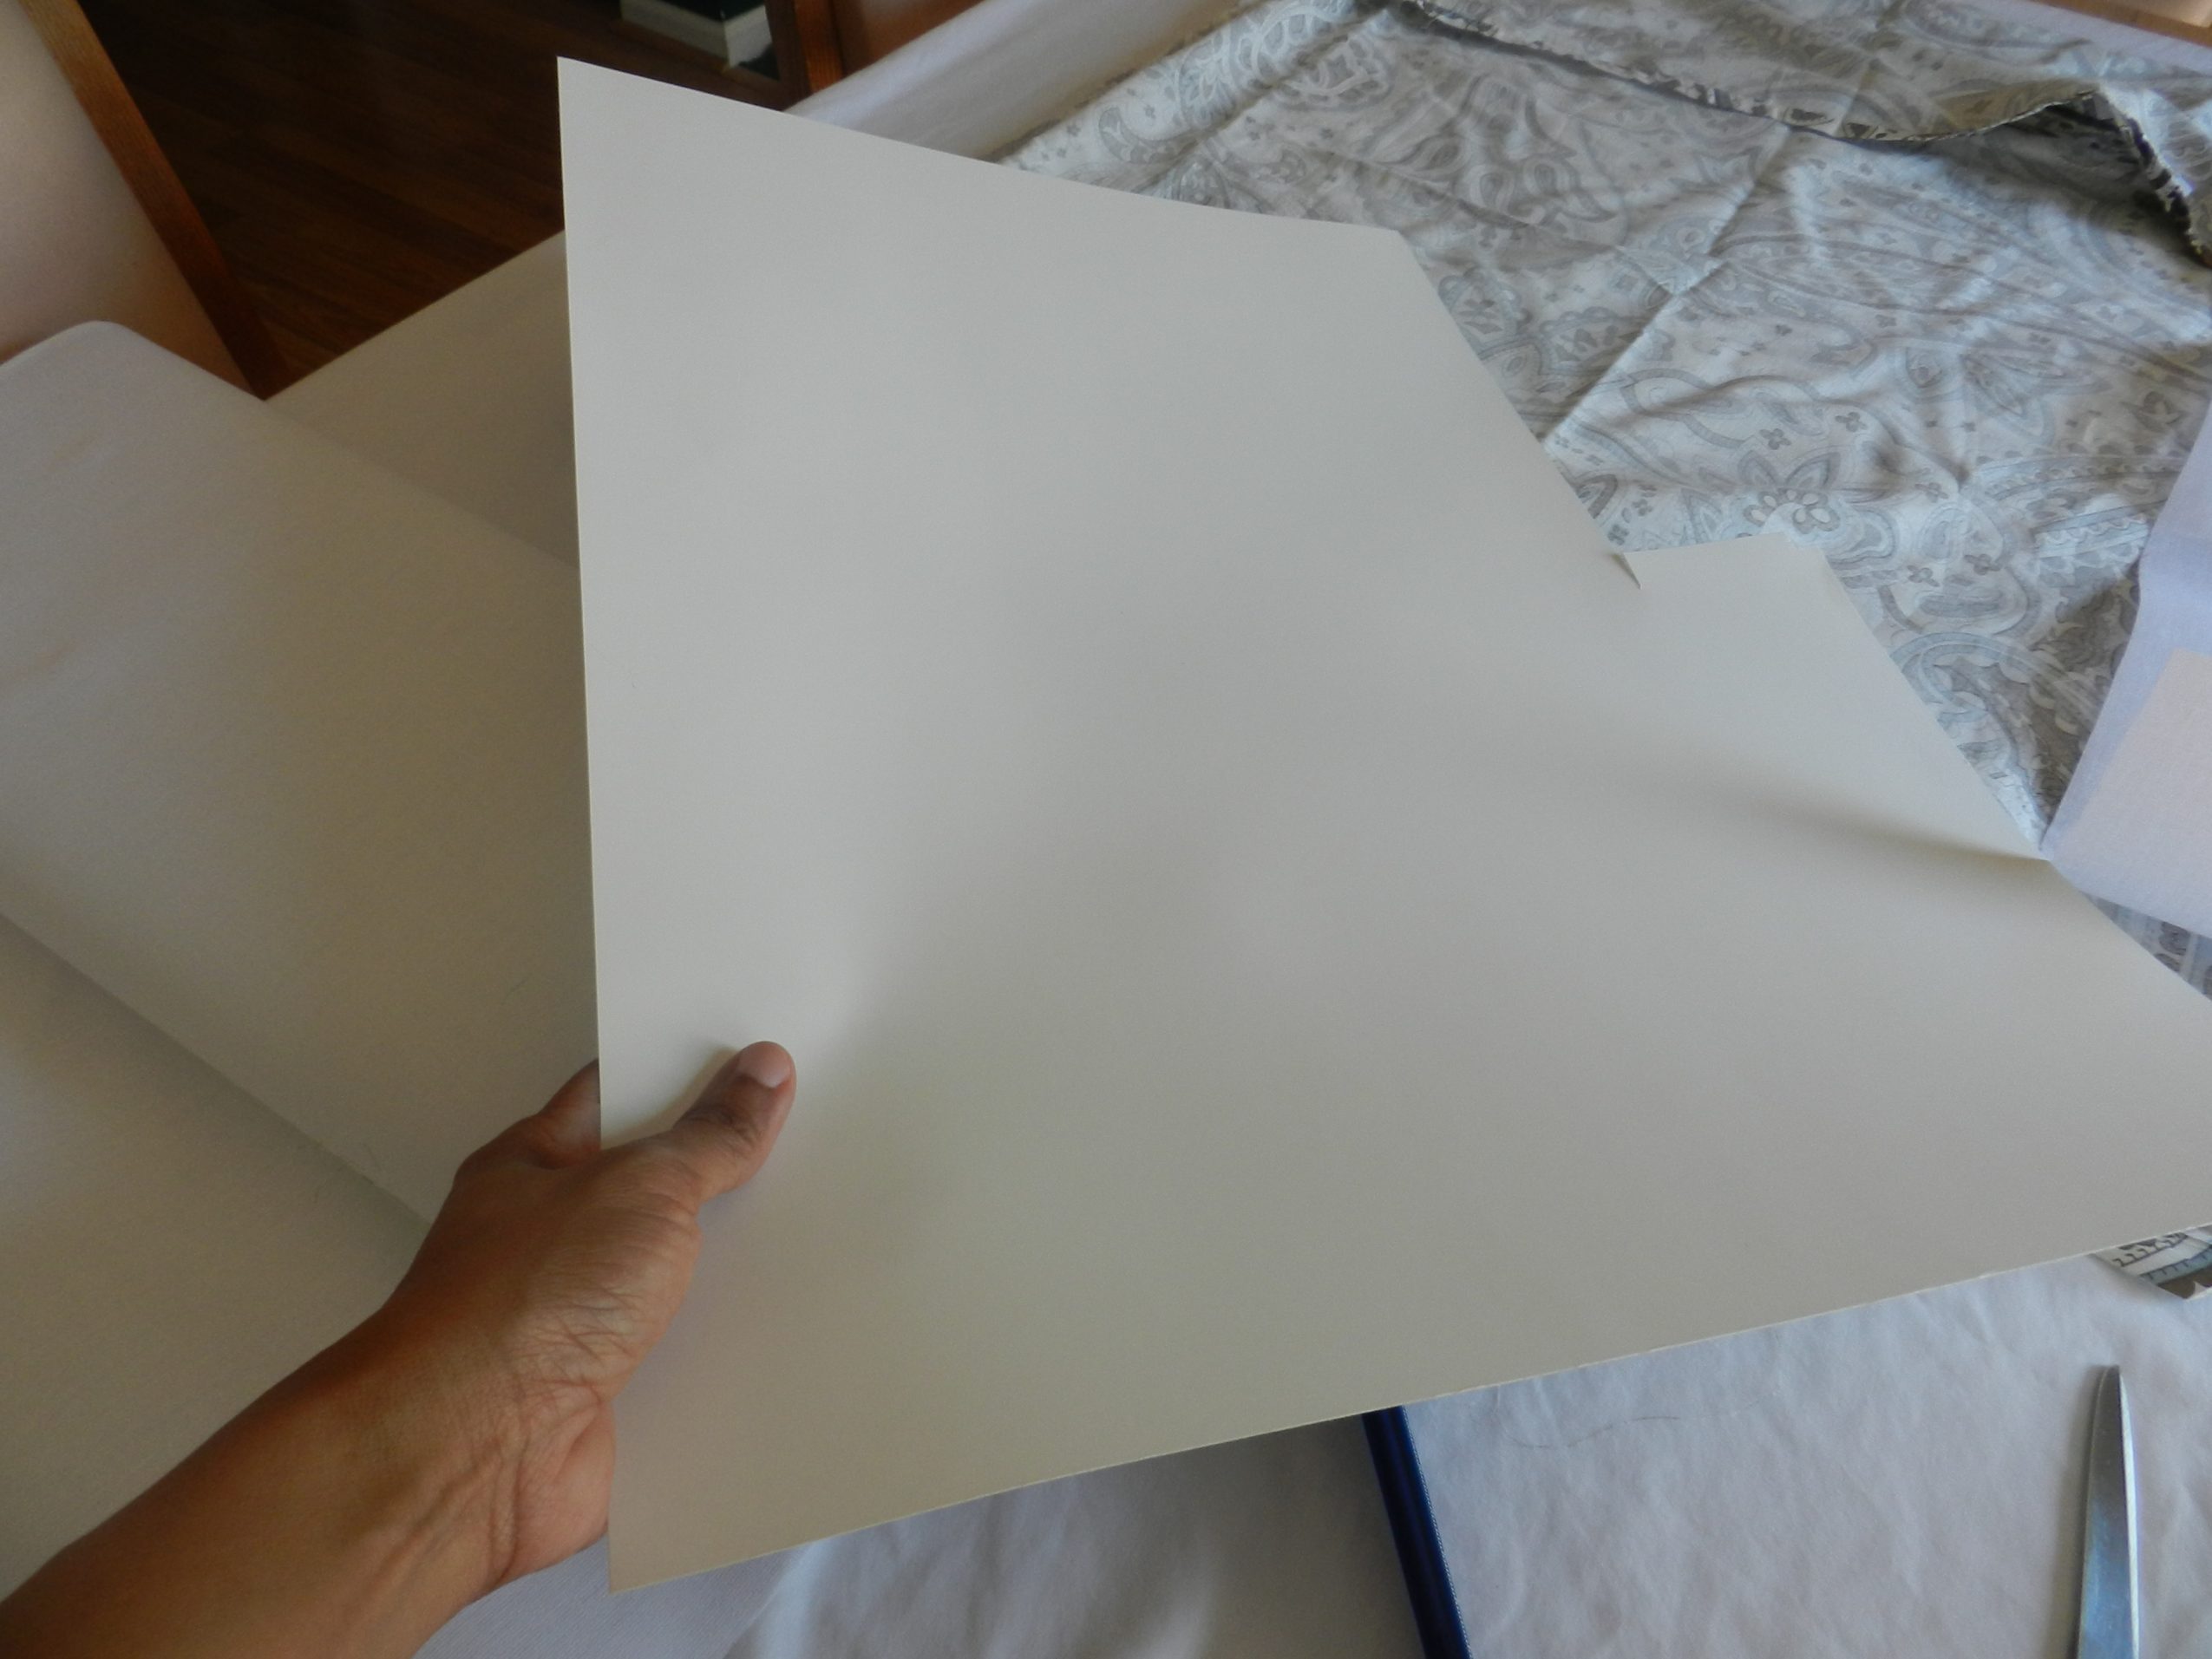
I’m going to use a poster board to insert inside of the sham. This is used to keep the pins from going all the way through when I pin it. I only want to pin to one side. I don’t want the pins to go all the way through.
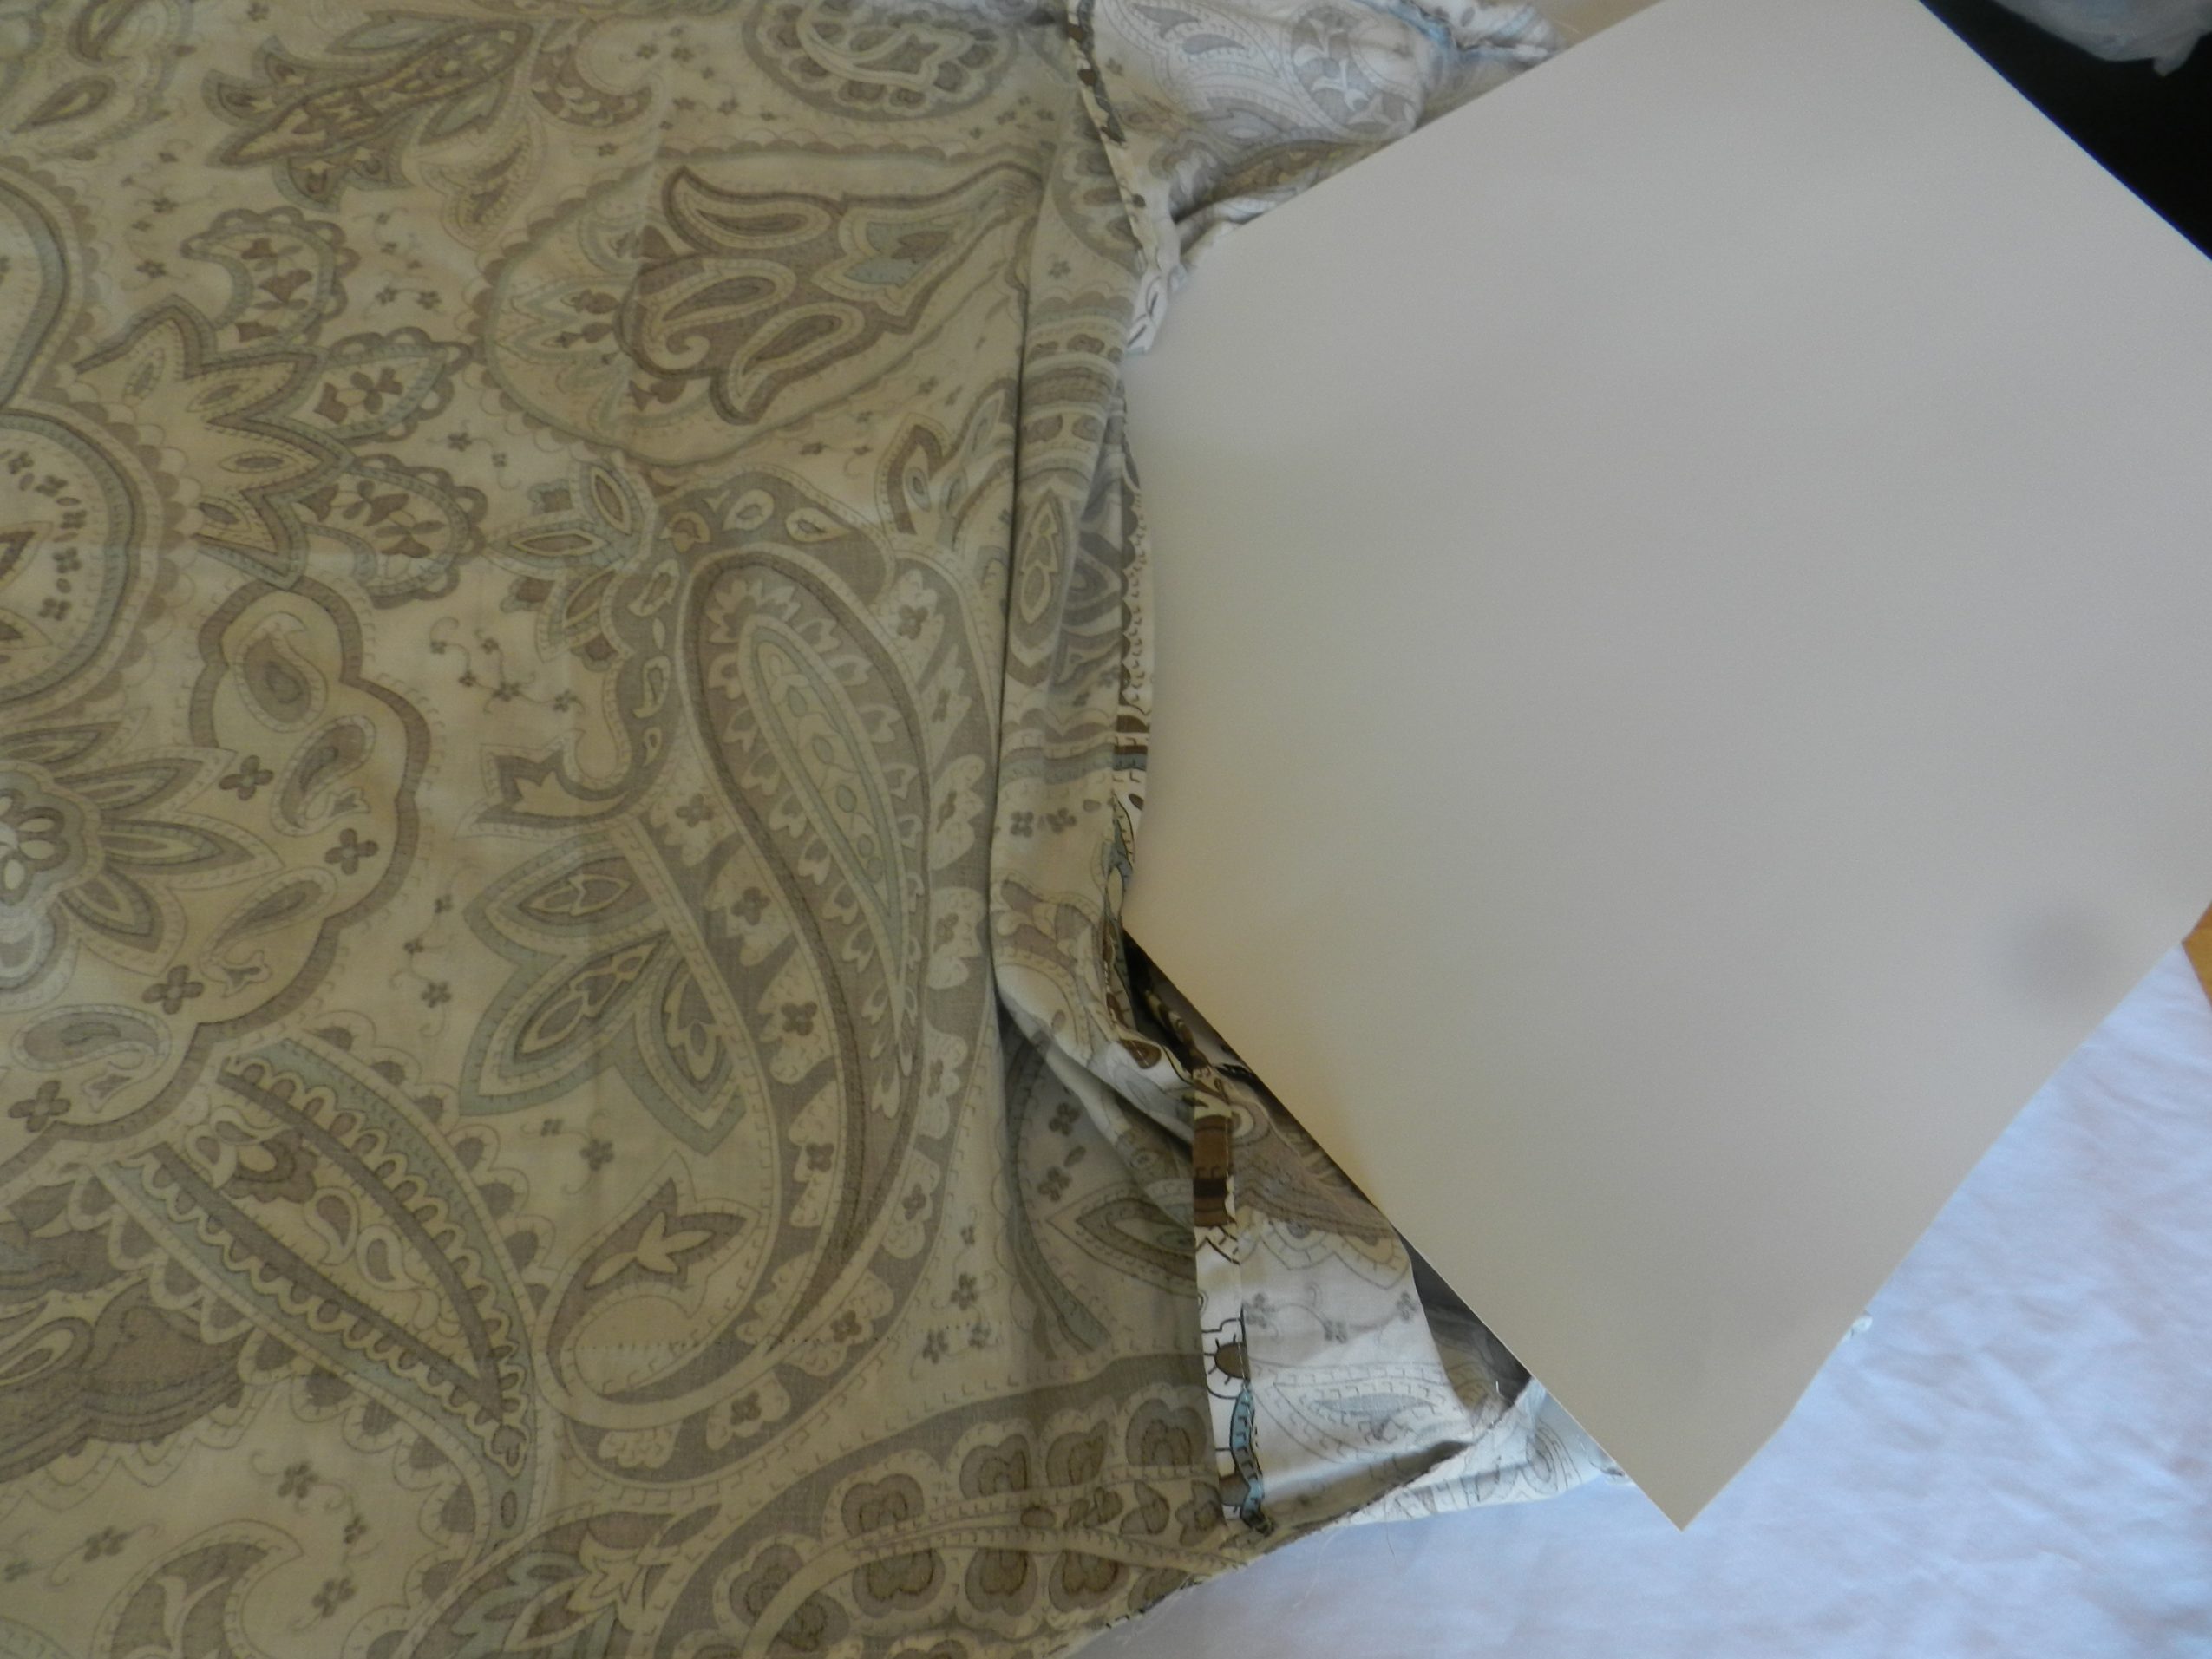
Insert cardboard inside of the sham.
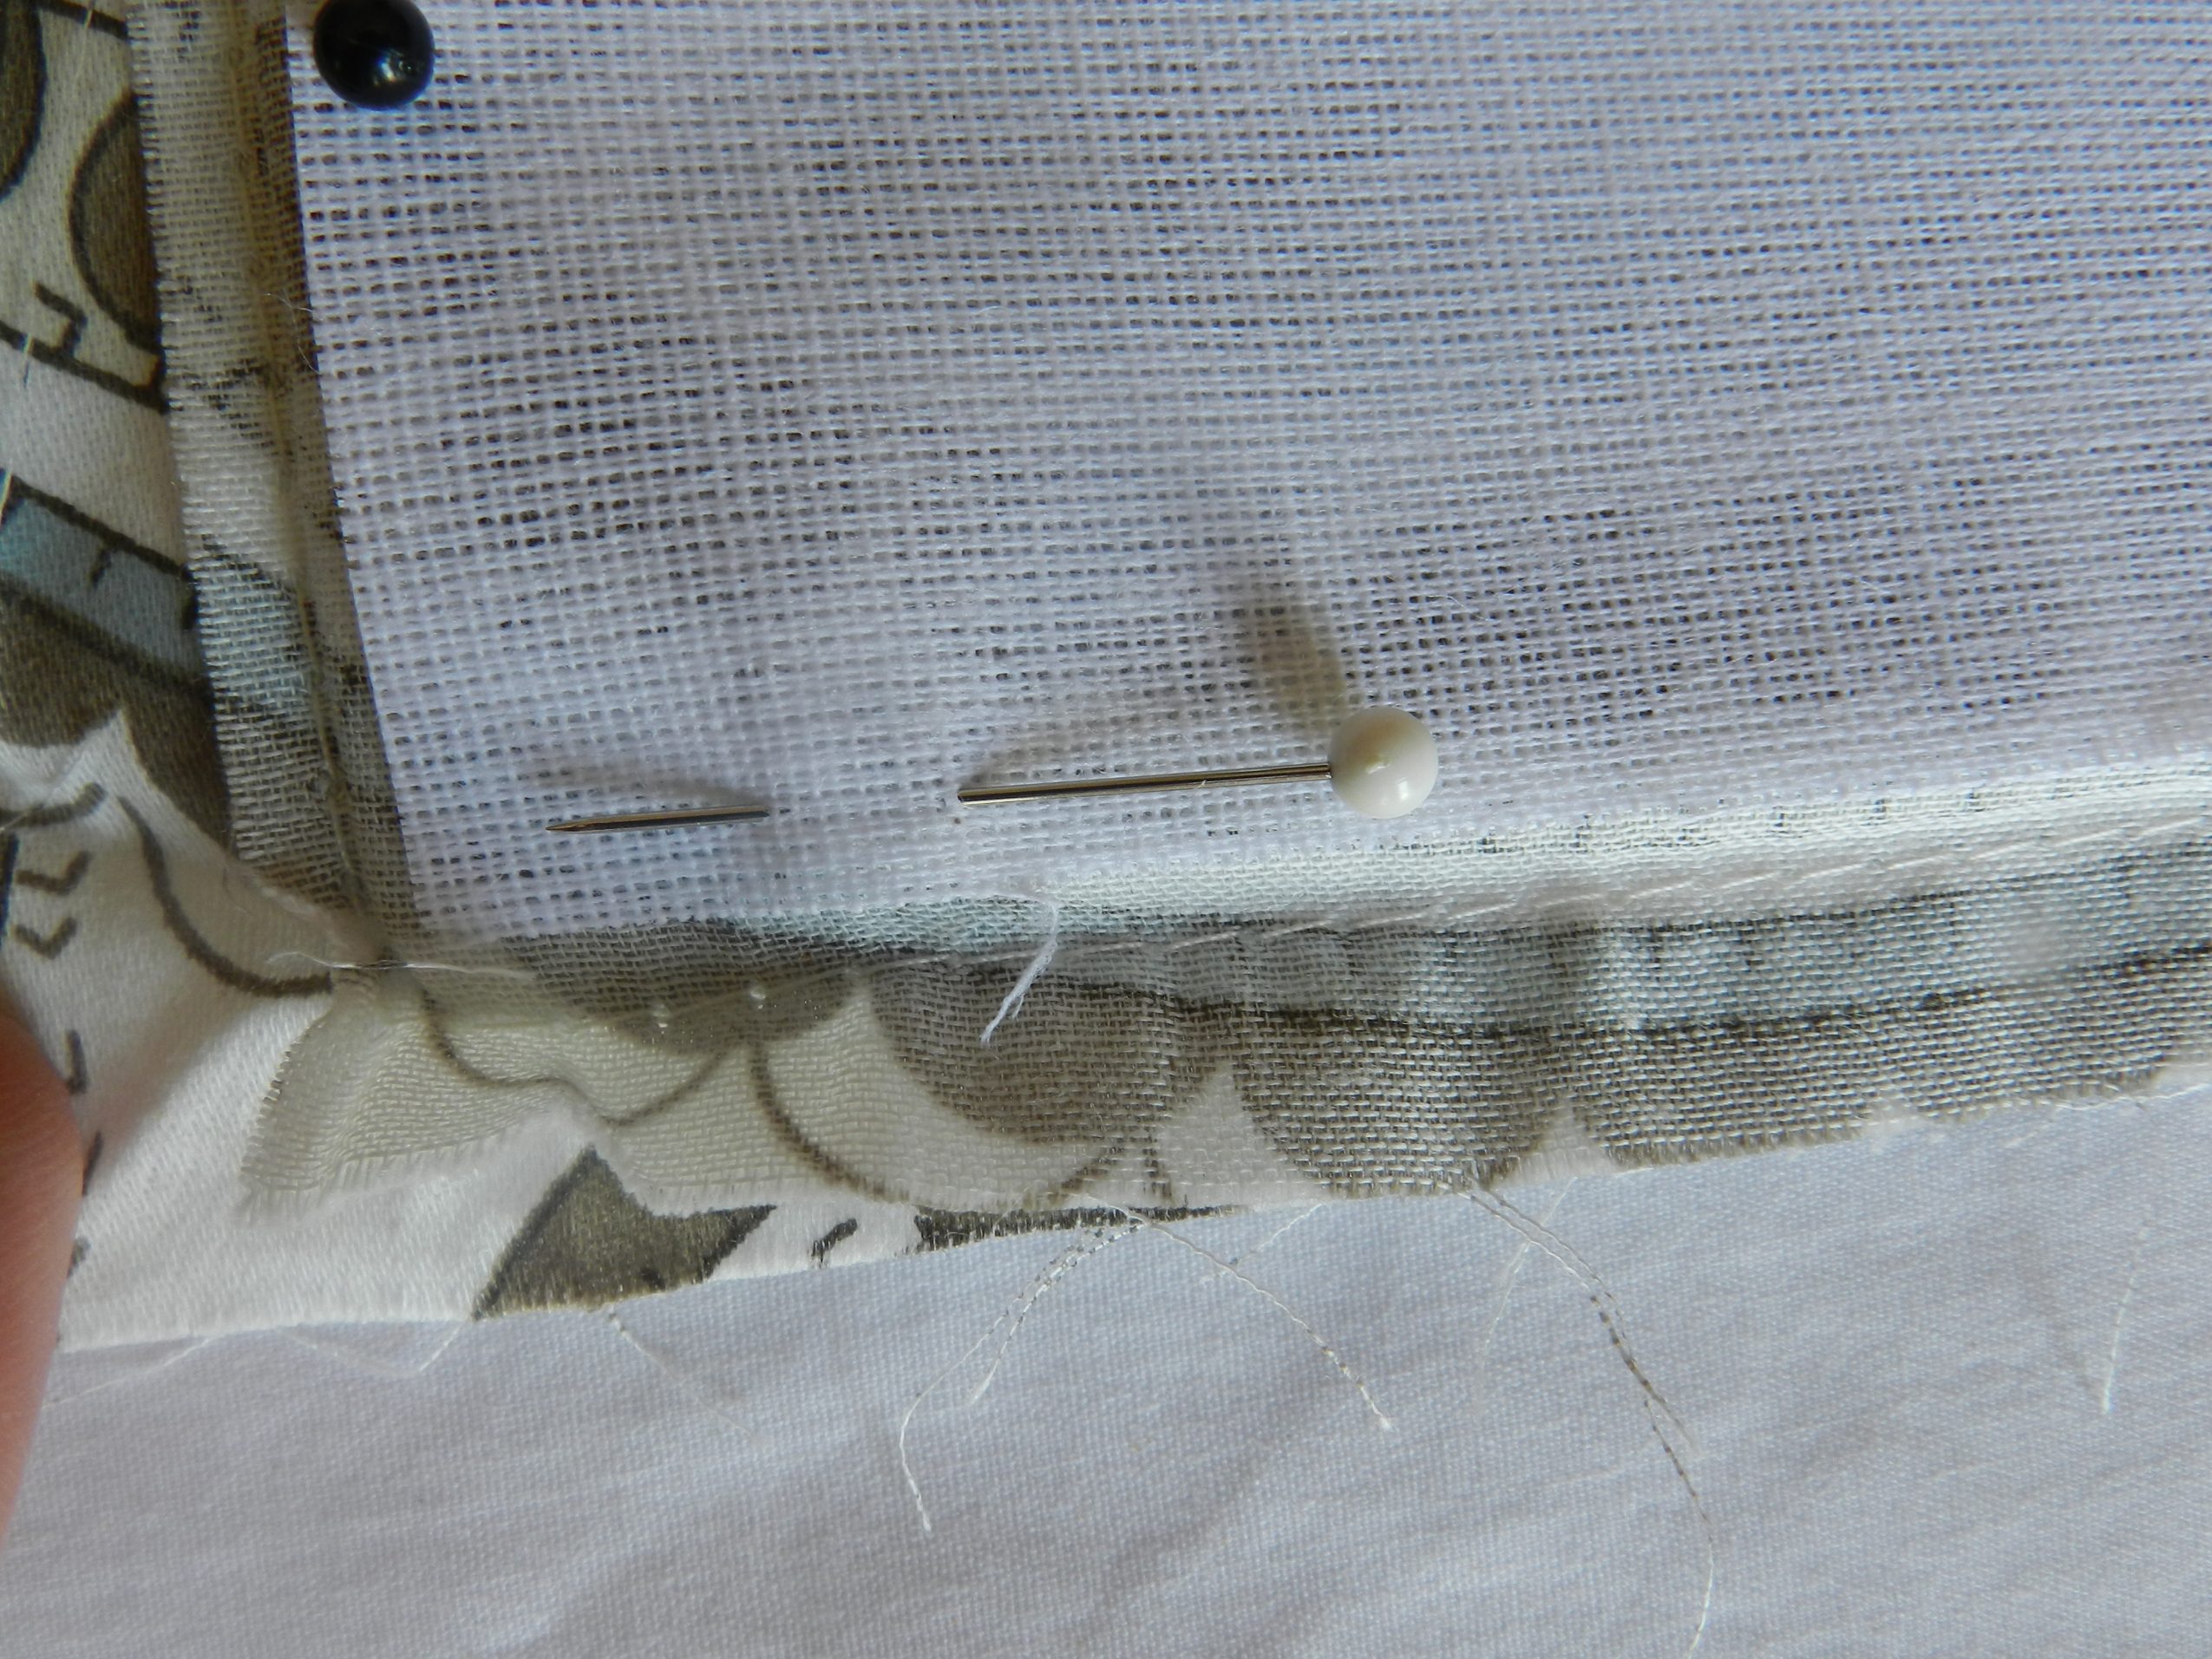
Pin the buckram a little bit away from the seam at the edge.
This is a pic of the buckram pinned all the way around.
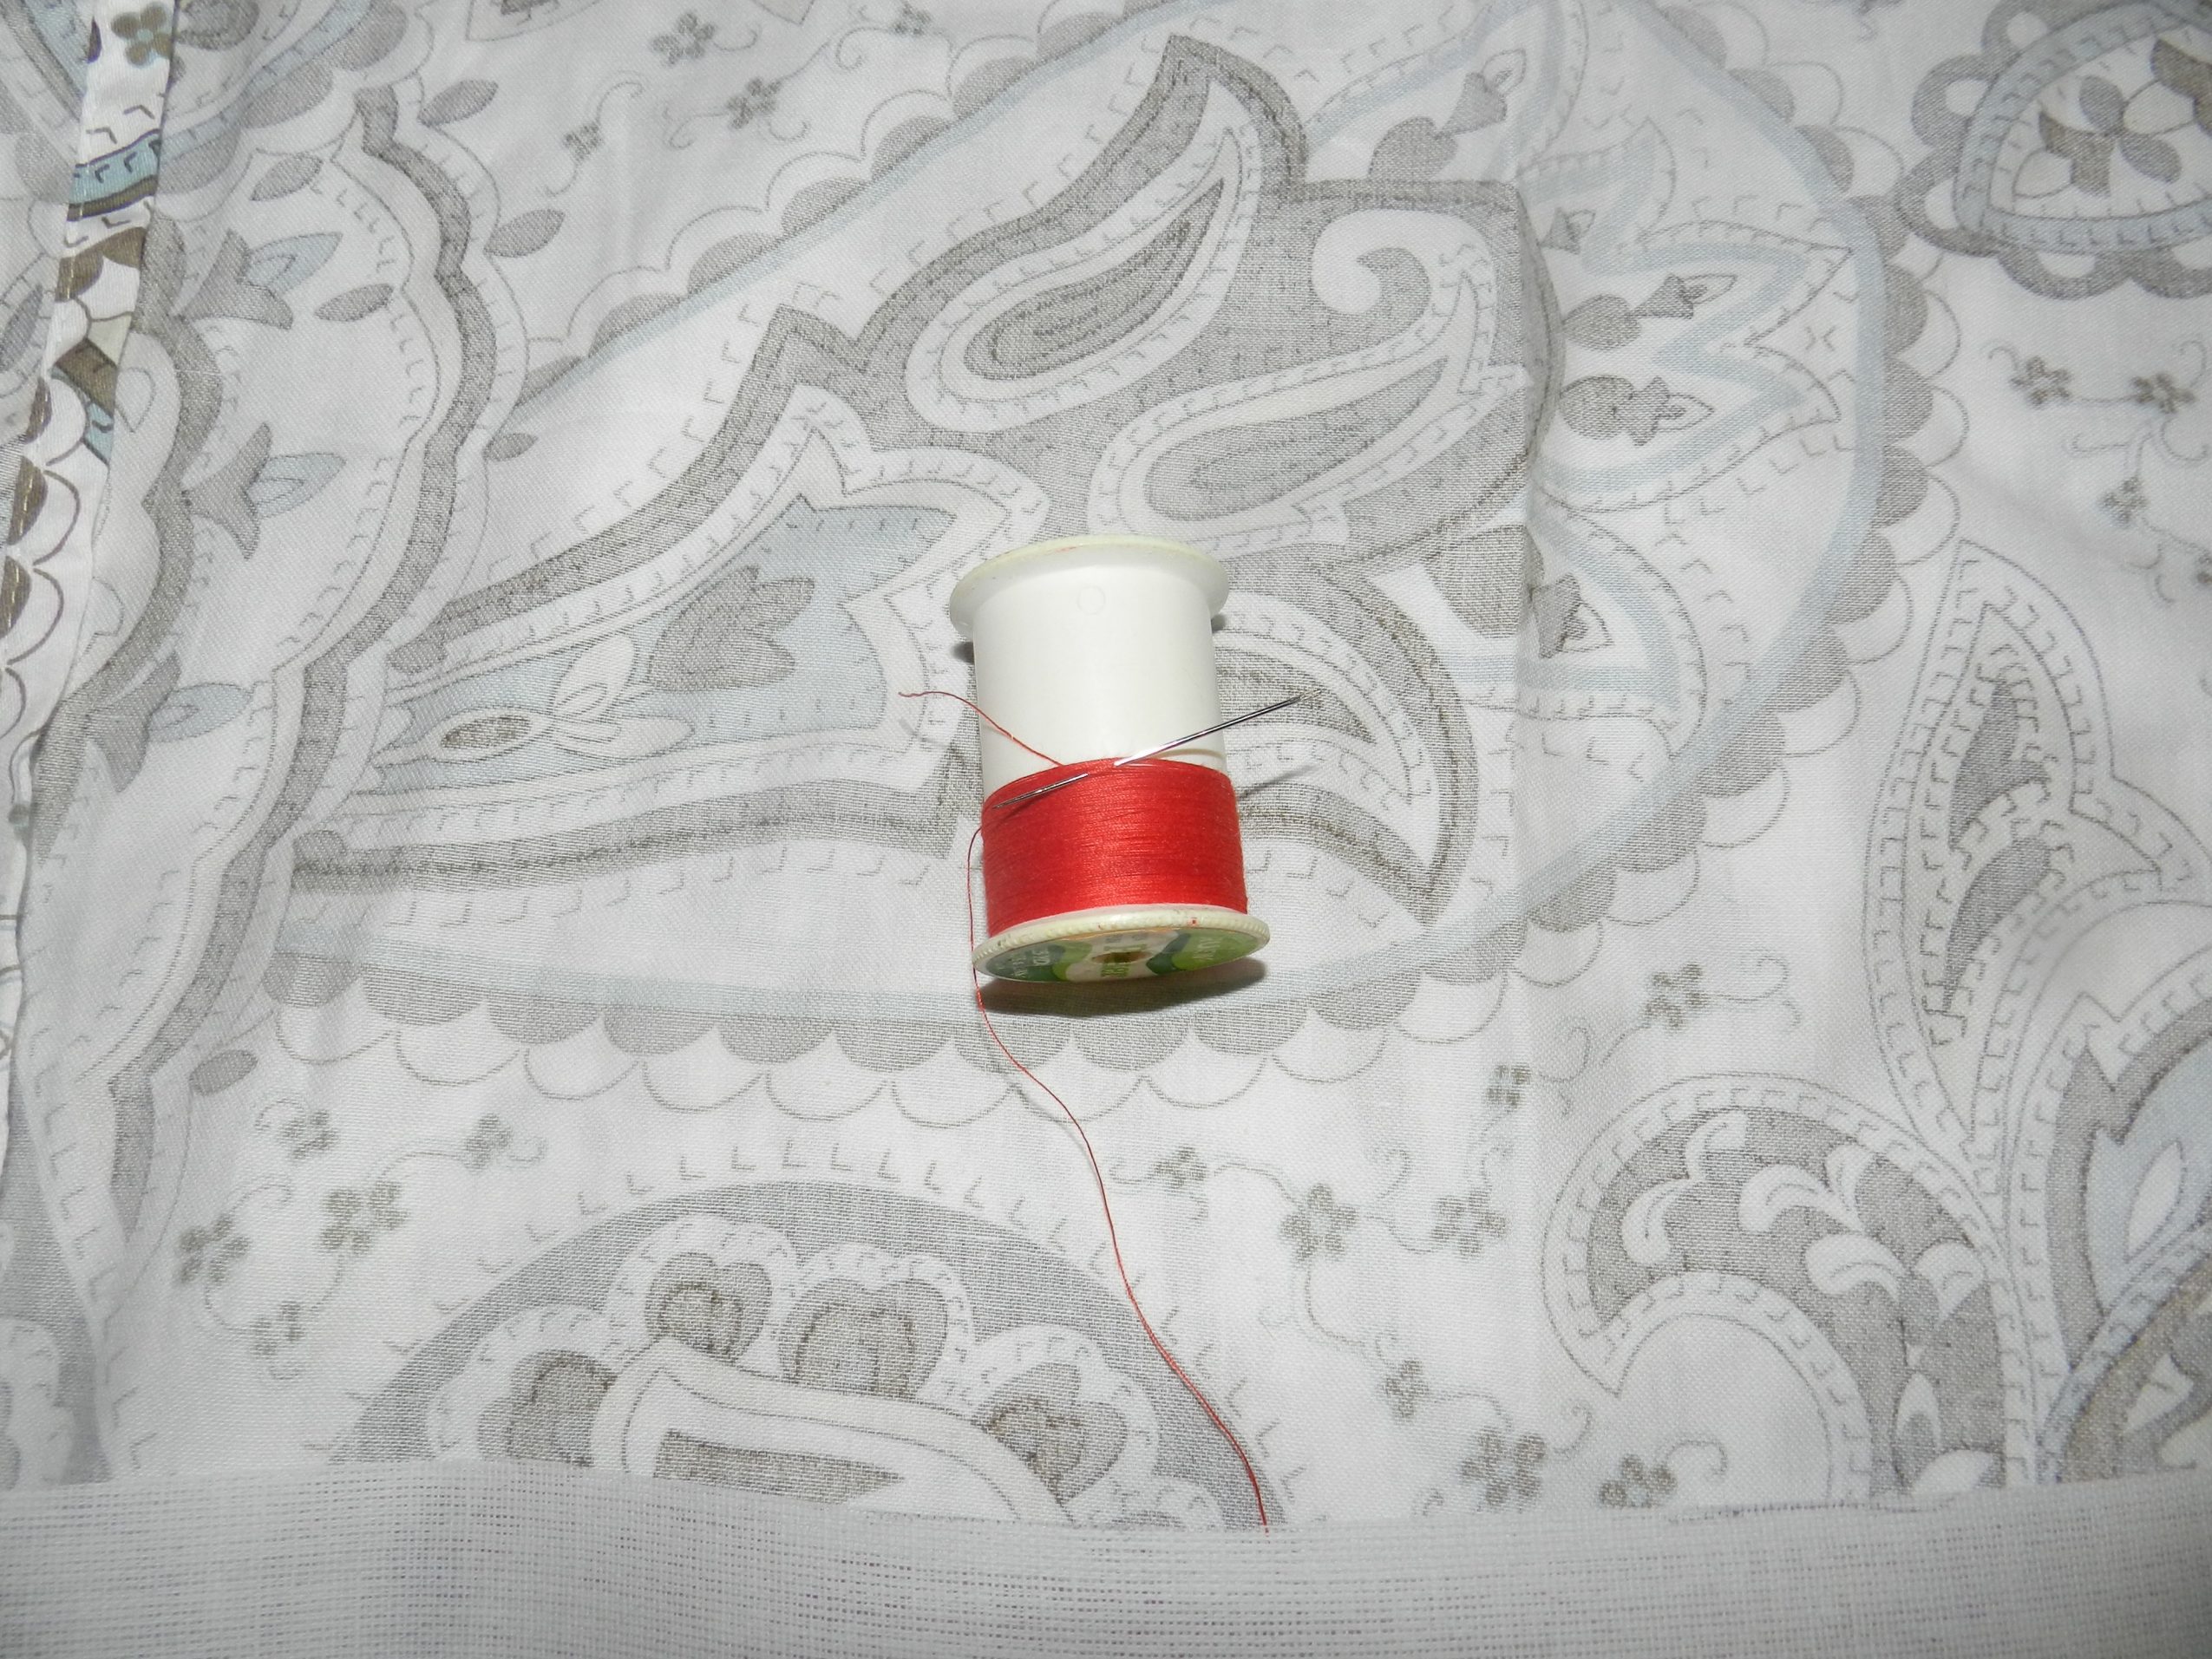
I’m going to baste, using a really loud color, all the way around the pinned edges. Then, I will take the pins out before I turn it over.
I’ve finished basting all the way around sham.
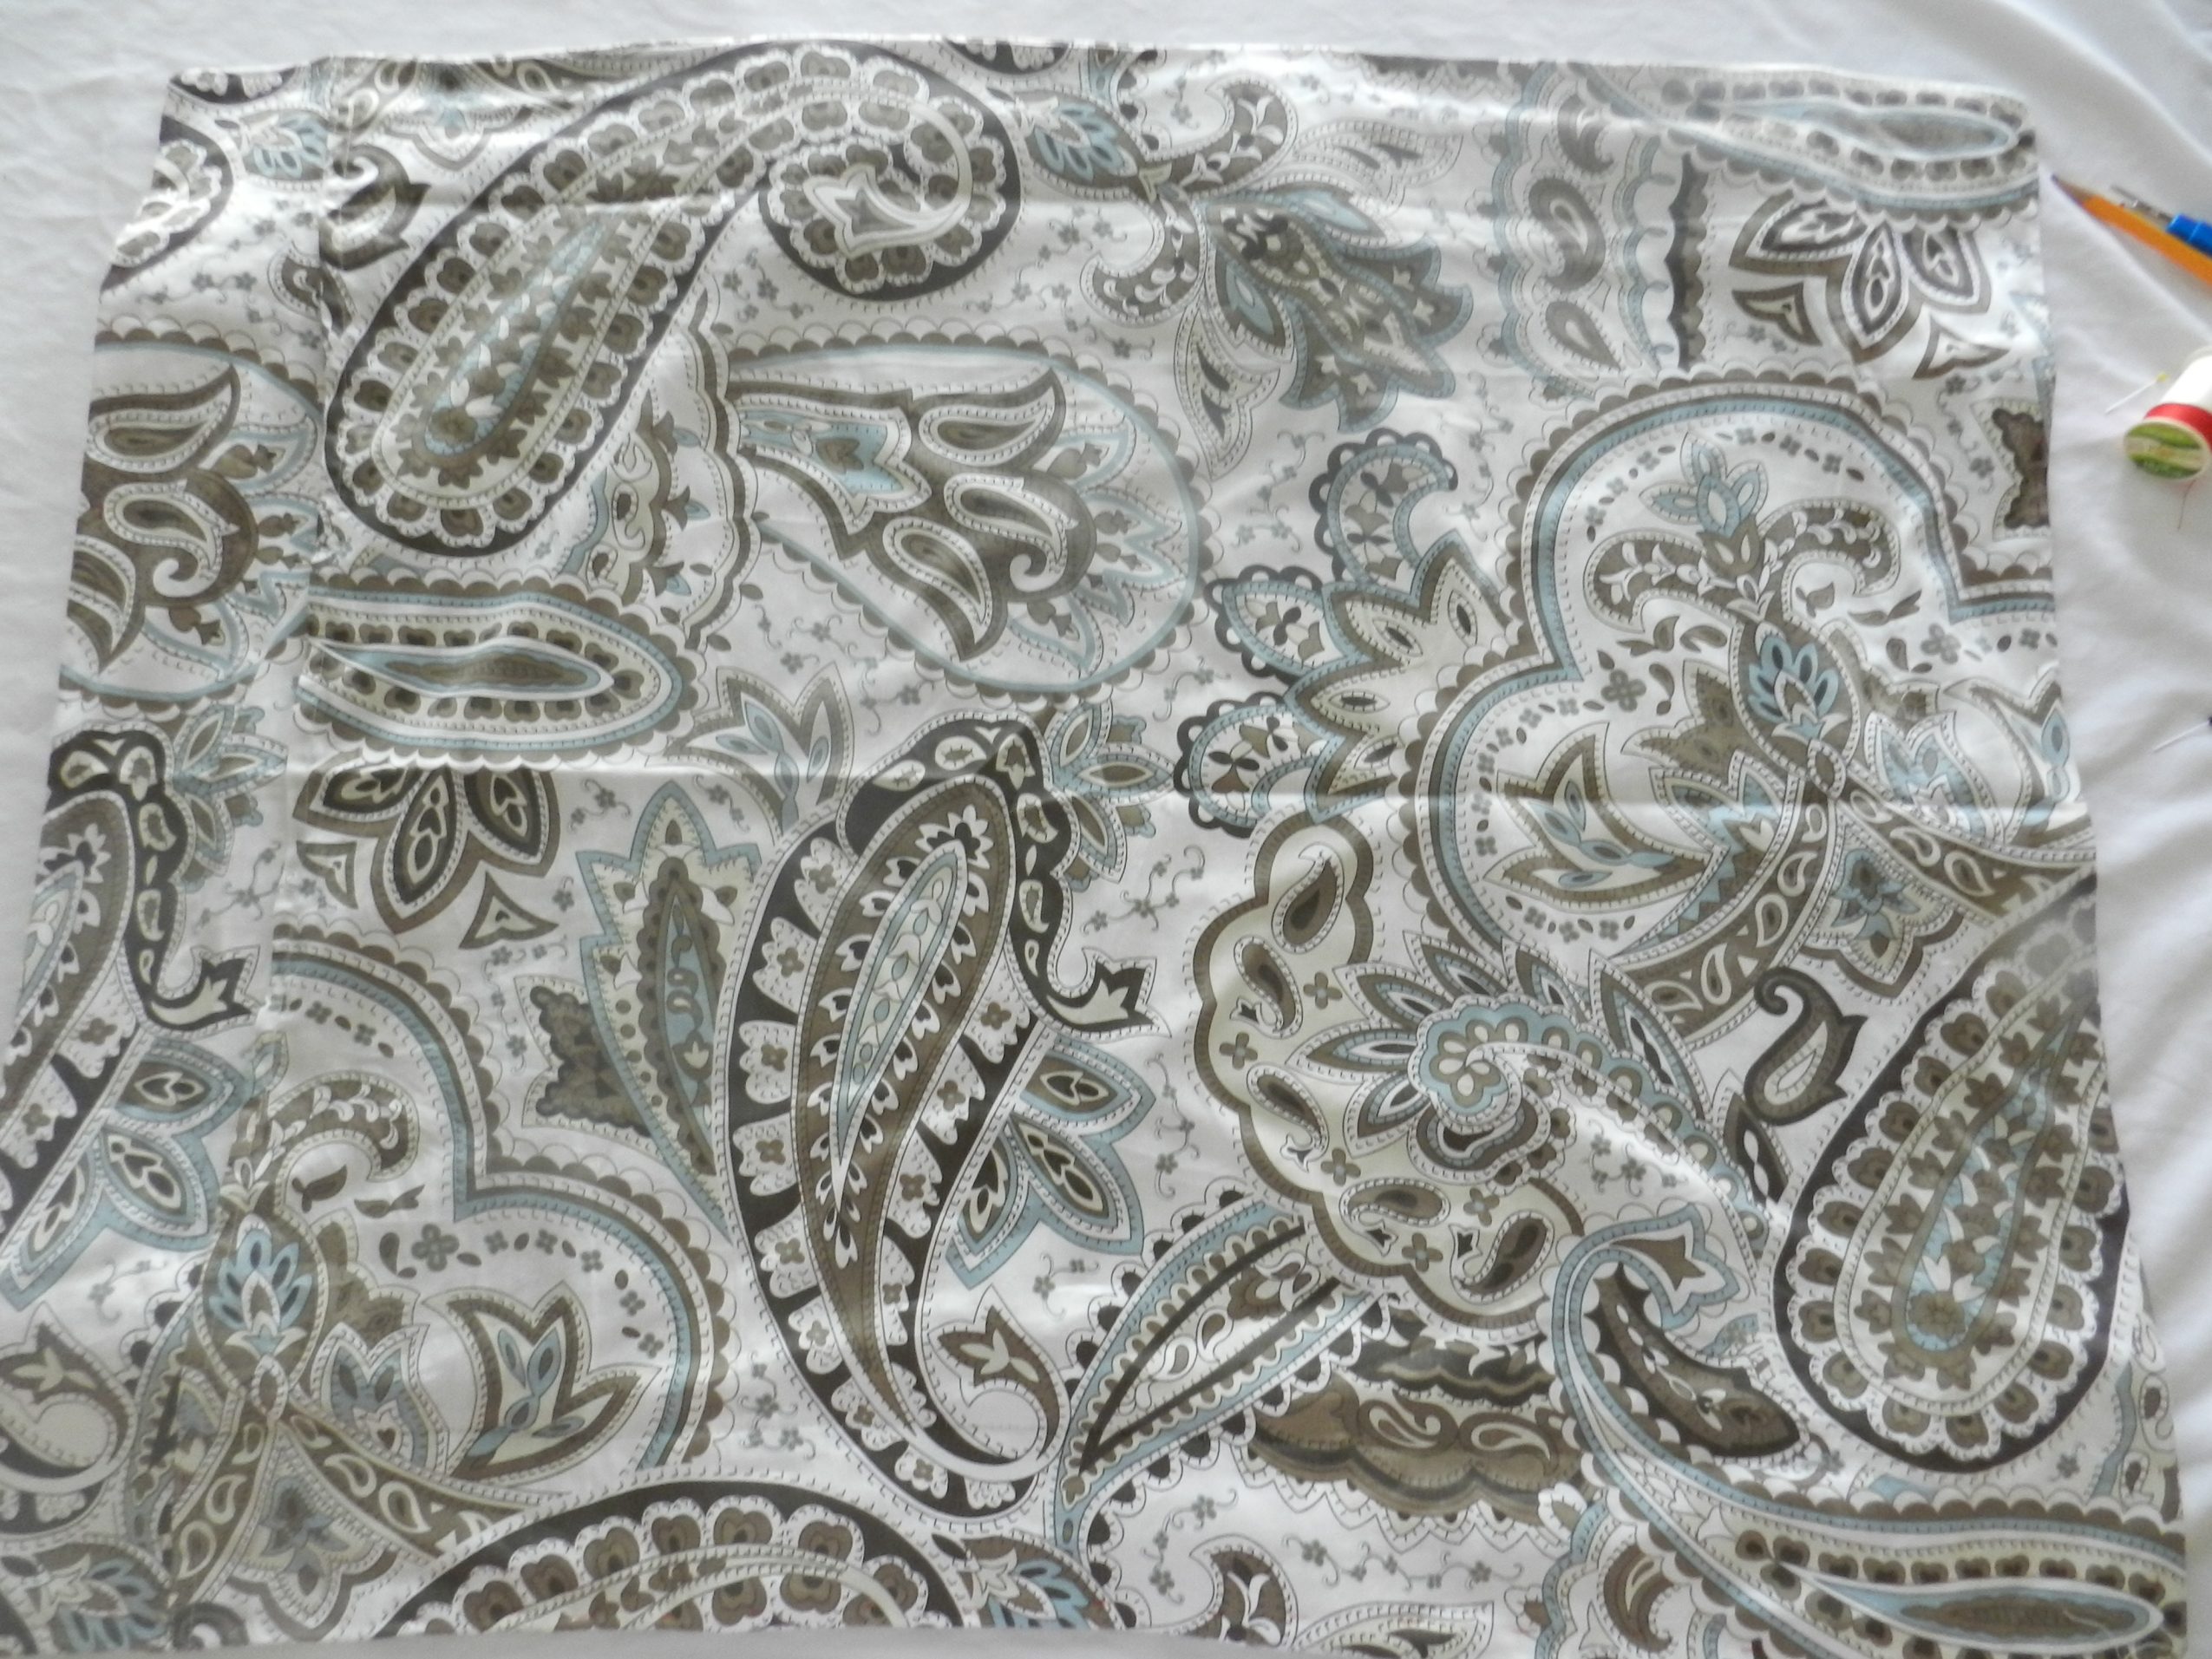
Turn the material so that the outside is showing.
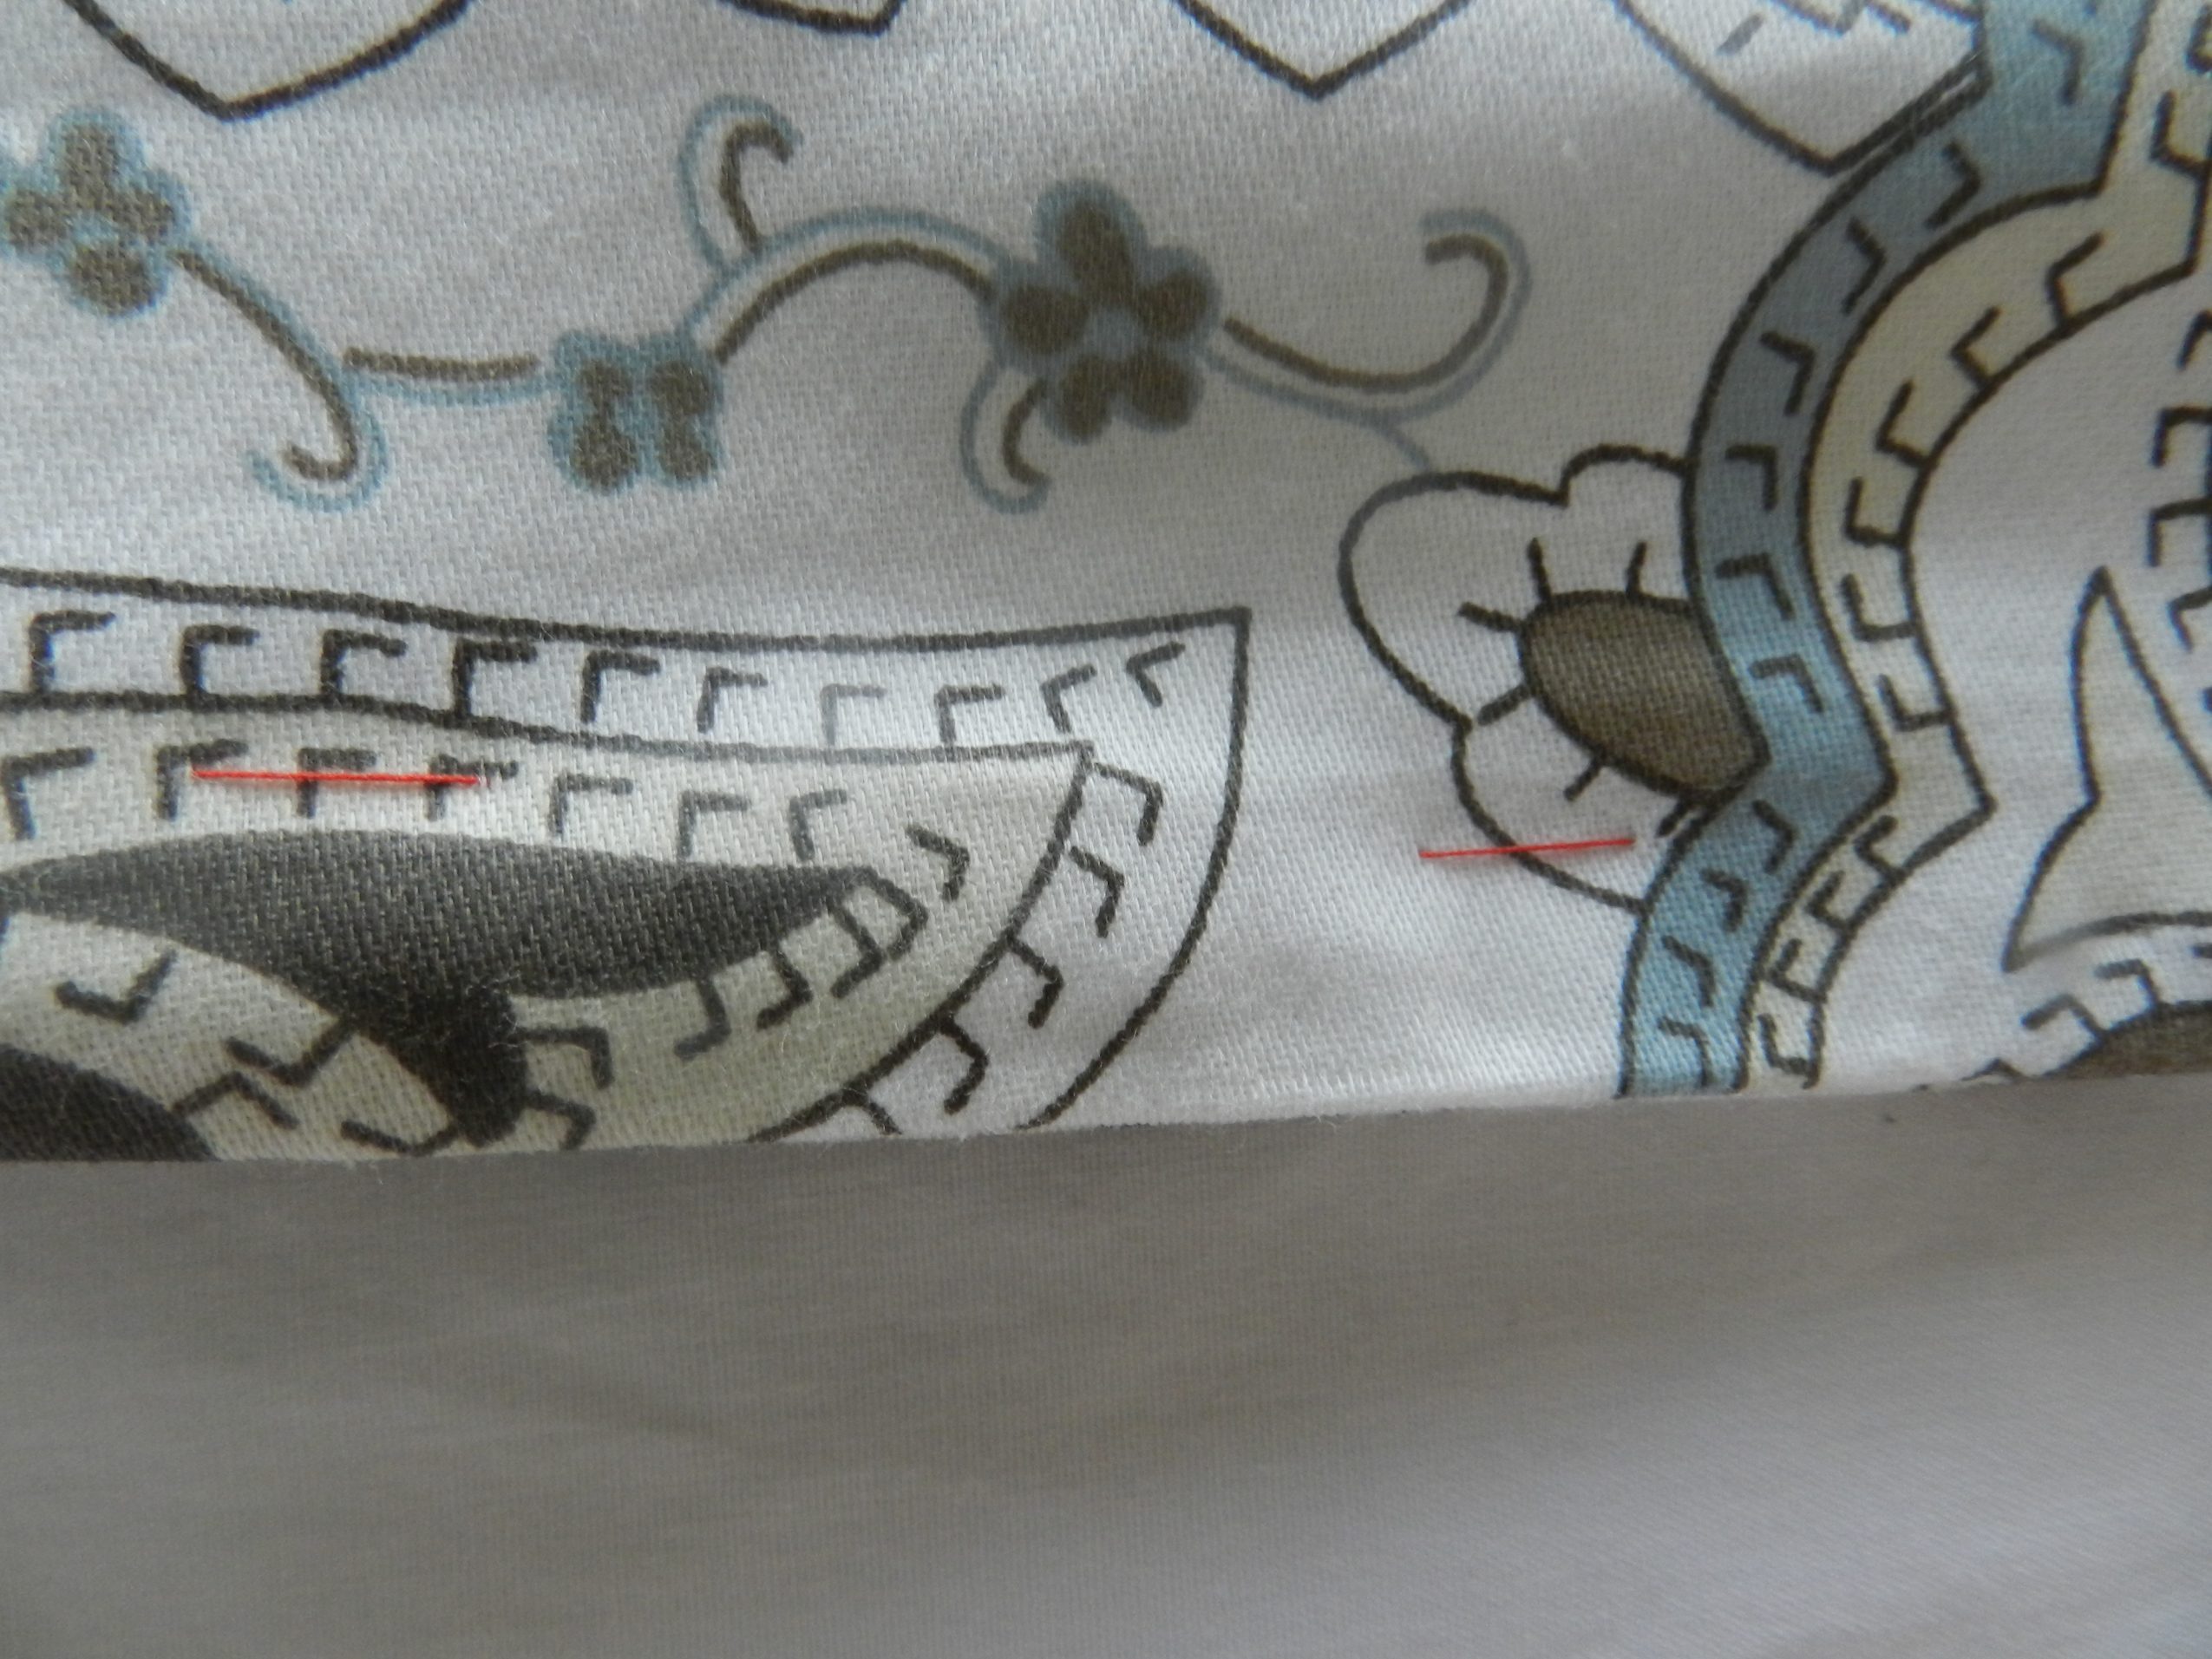
Notice the red thread that holds the buckram in place. It will be easy to see when I pull it out.
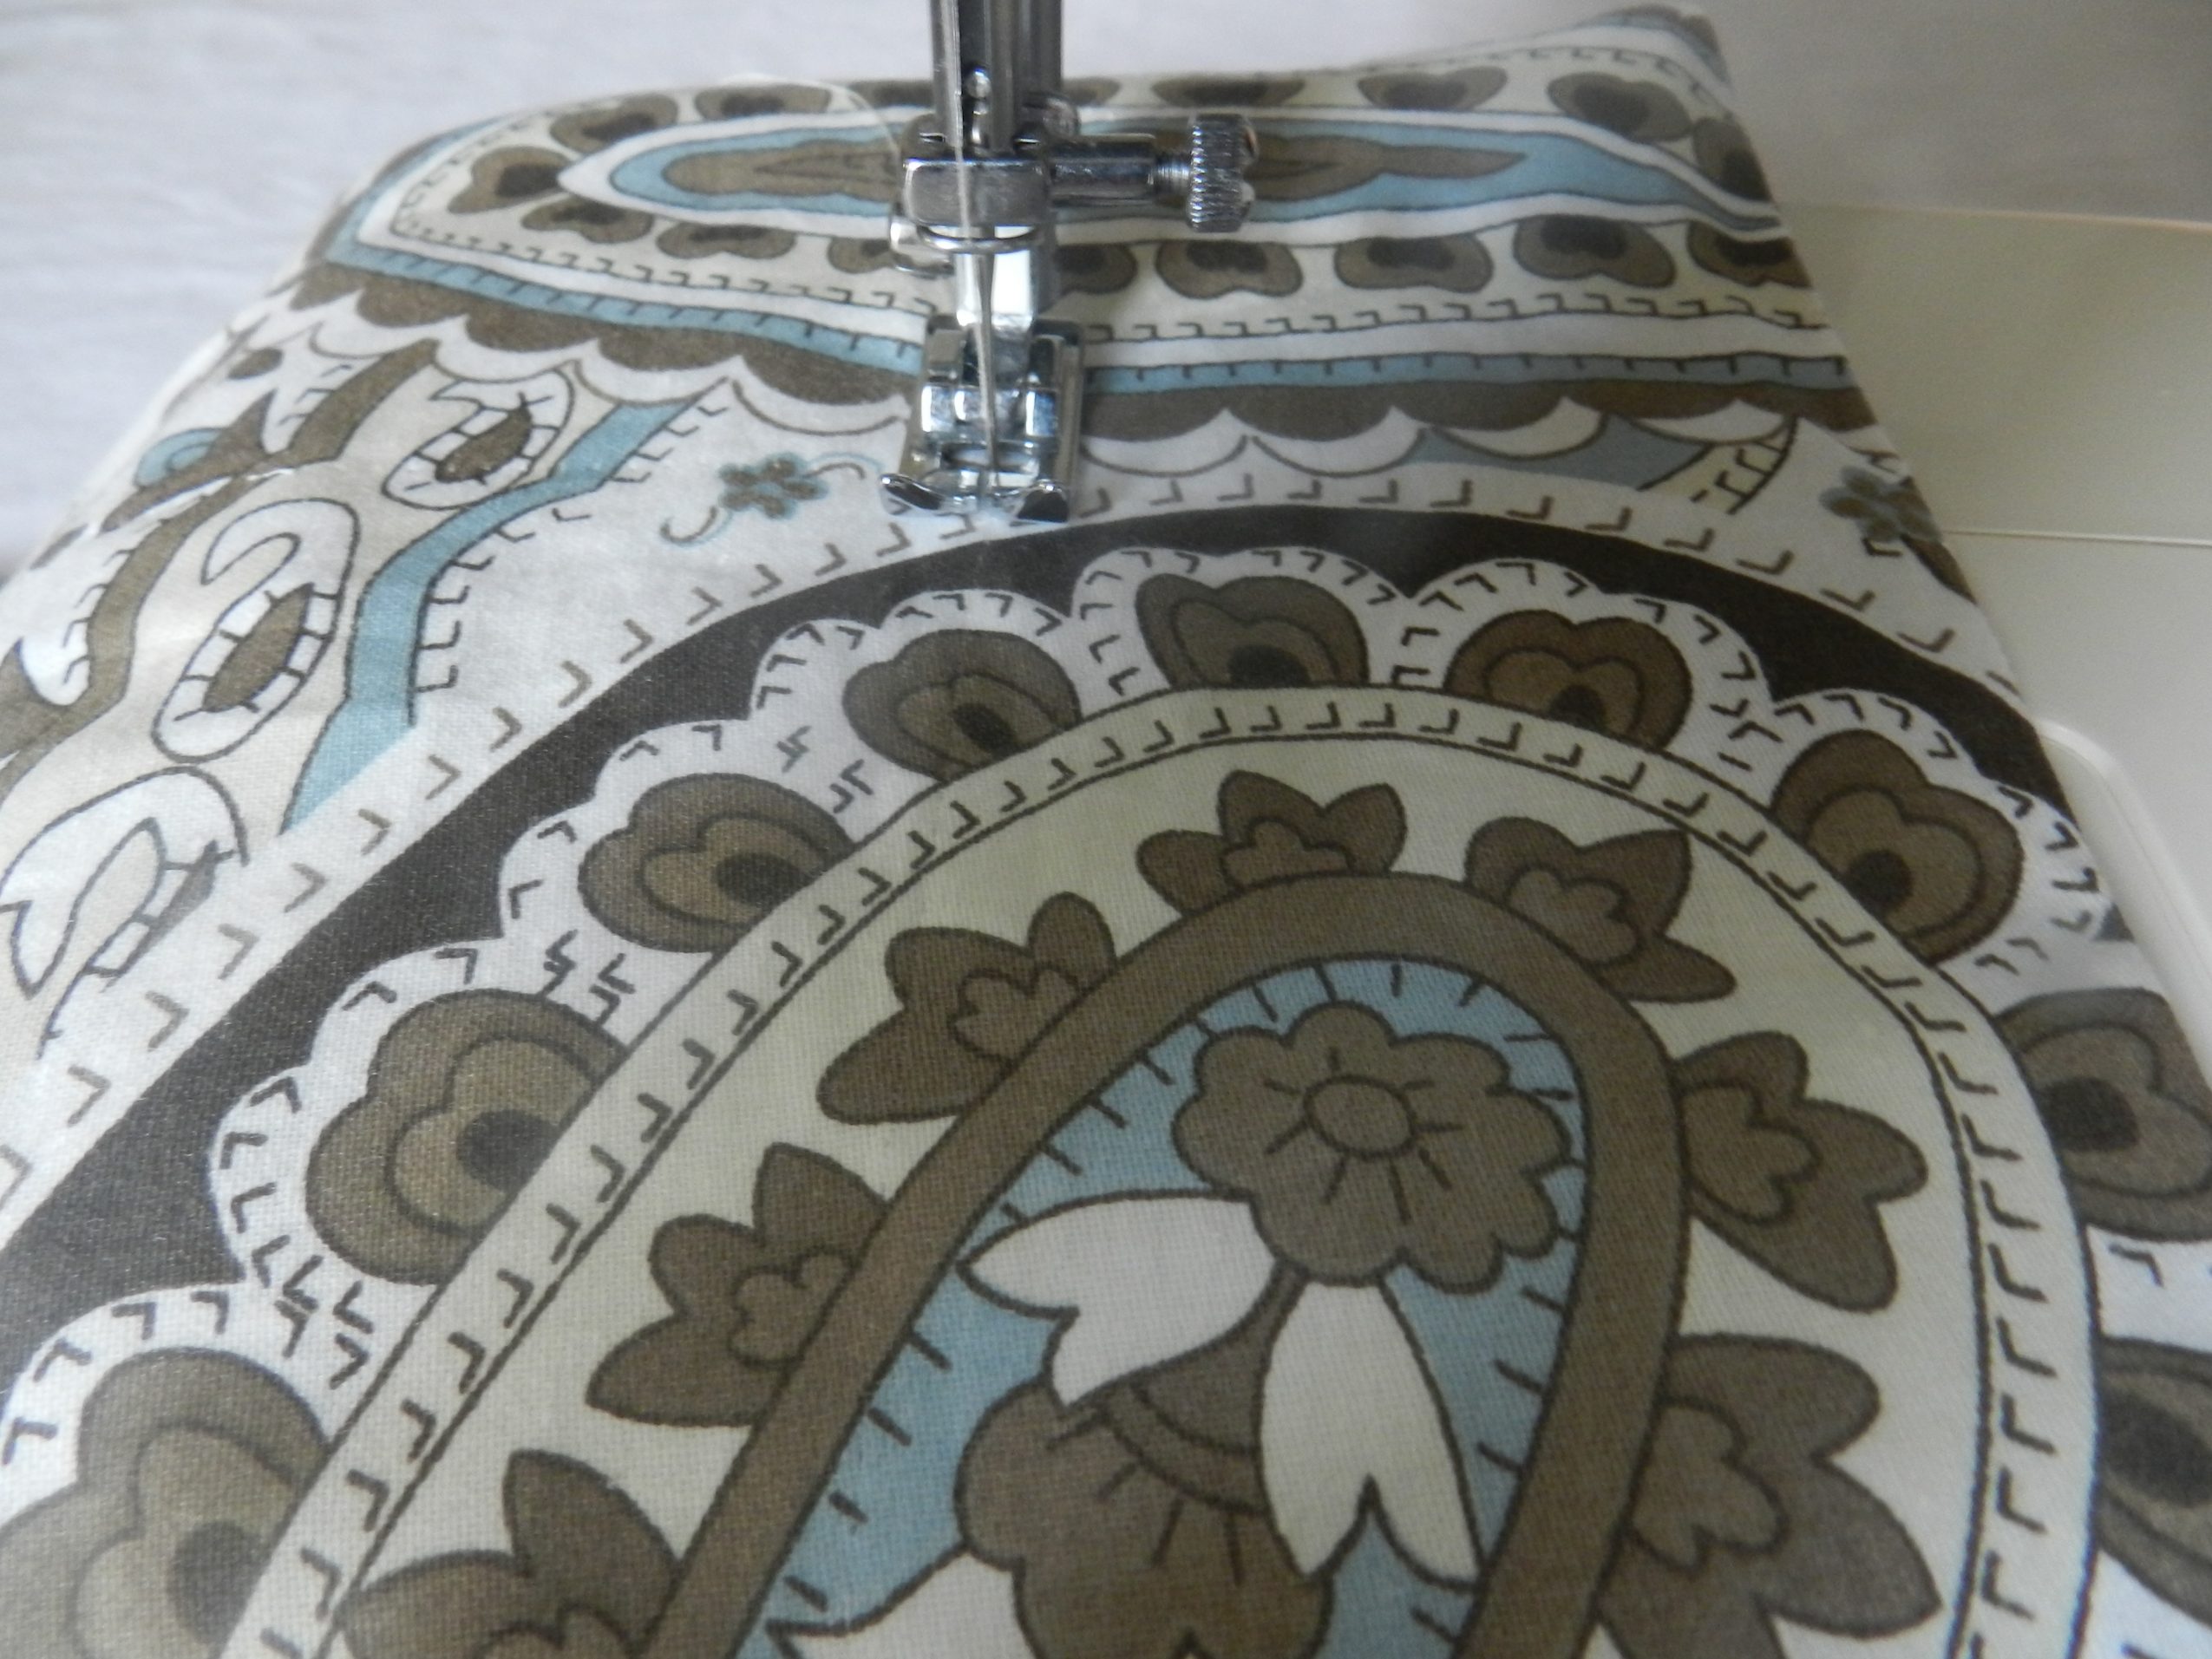
Now, you will sew the topstitching back. Just follow the original imprint of the seam that you took out.
Don’t forget to go back and remove the basting material. And you’re done!
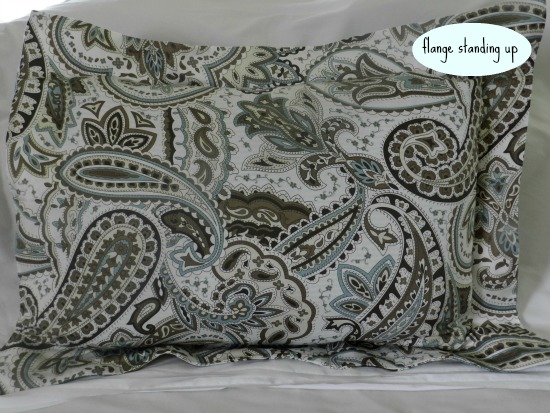
Now, you have a pillow sham that stands up and the flanges don’t lay down and look flimsy. Wooo! I’ve got to go work on the other sham, now.
These are beautiful! I can’t decide on one so I’ll make all of them. I make pillowcases for children with cancer, I know these will put a smile on their faces.
How does this hold up washing? Can you launder once a week or does it damage the buckram
That’s a pretty great idea. If I ever have ones that are styled that way I’ll have to try this!
Hi Theresa! Thanks. It’s an excellent idea to fix those stubborn pillow shams.
Great job Sharon! The pillow looks good and I like the colour and patterns on it. Have a great week!
Thanks Judy! It took me a while to find this type of pattern, too.
That is an impressive fix! Thanks for linking up to Raising Imperfection this week while I’m a co-hostess! Please come back to Mommynificent on Friday to see if you were featured.
Have a magnificent day!
Tina
Hi Tina! You’re welcome. Will definitely check back on Friday.
I have always hated this too. This looks like a fab fix but I hate projects that require sewing haha. I will definitely do this if I get mad enough though. Thanks for the tip!
Hi Kimber! It does require a little work but they look so cute in the end….
Wow Sharon…I admire you. I would have never thought it would be possible to do this with pillow shams. They look so much nicer when finished. Great job!!!
Have pinned this for future reference 🙂
Thanks Bismah! I so love the sham now. Now, I’m trying to finish the other one. I should’ve worked on both at the same time.
Very cool … fortunately I have had the right size pillows for my shams so no needle required .. just yet anyway 🙂
Thank you for linking to Raising Imperfection.
Please come back Friday to see if you were featured. 🙂
¤´¨)
¸.•*´
(¸¤ Lanaya | xoxo
Raising-Reagan.com
Thanks Lanaya! I wish mines would work with only the pillows.
What a great idea! I hate saggy shams~ and yes, I do the fluff and turn, but eventually the material sags anyway. I am getting my machine out and going to work! 🙂 Thanks!
Thanks Kim! This definitely stops the sagging….
What a great idea. It’s the simple things that make us happy!
Thank you for linking up to Raising Imperfection!
Make sure to check back on Friday to see if you were featured.
Leslie
http://www.violetimperfection.com
Thanks Leslie! It is the simple things that makes up happy, for sure….